Furniture Design: Bamboo Crescent Table
One of my favorite and most challenging classes I took during college was Furniture Design. I enjoyed this class so much because it got away from the more typical design process I had been accustomed to in our studios and it was much more hands on, however coming from the industrial design program rather than sculpture or a 2D program, my design approach was still very structured. We had only a few limits on what we could design in this class; it had to realistic to be able to be finished in a semesters time, and you had to be able to afford any extra materials that you needed to finish. That was it as far as restrictions go. I am very proud of my work in this class and this may have been my favorite project during my college career.
Inspiration & Mood Board:
While doing research for this project, Charles Eames’ early work with veneer and vacuum forming stood out to me. His rounded and smooth shapes were imagery I wanted to replicate in my own work. I was also inspired by blue java bananas and blue bamboo from the rainforests of southeast Asia and their relationship within the rest of the landscape in their respective regions of the forest. I wanted to capture an organic, natural, and biophilic aesthetic while still having mid-century influence.
Sketching process:
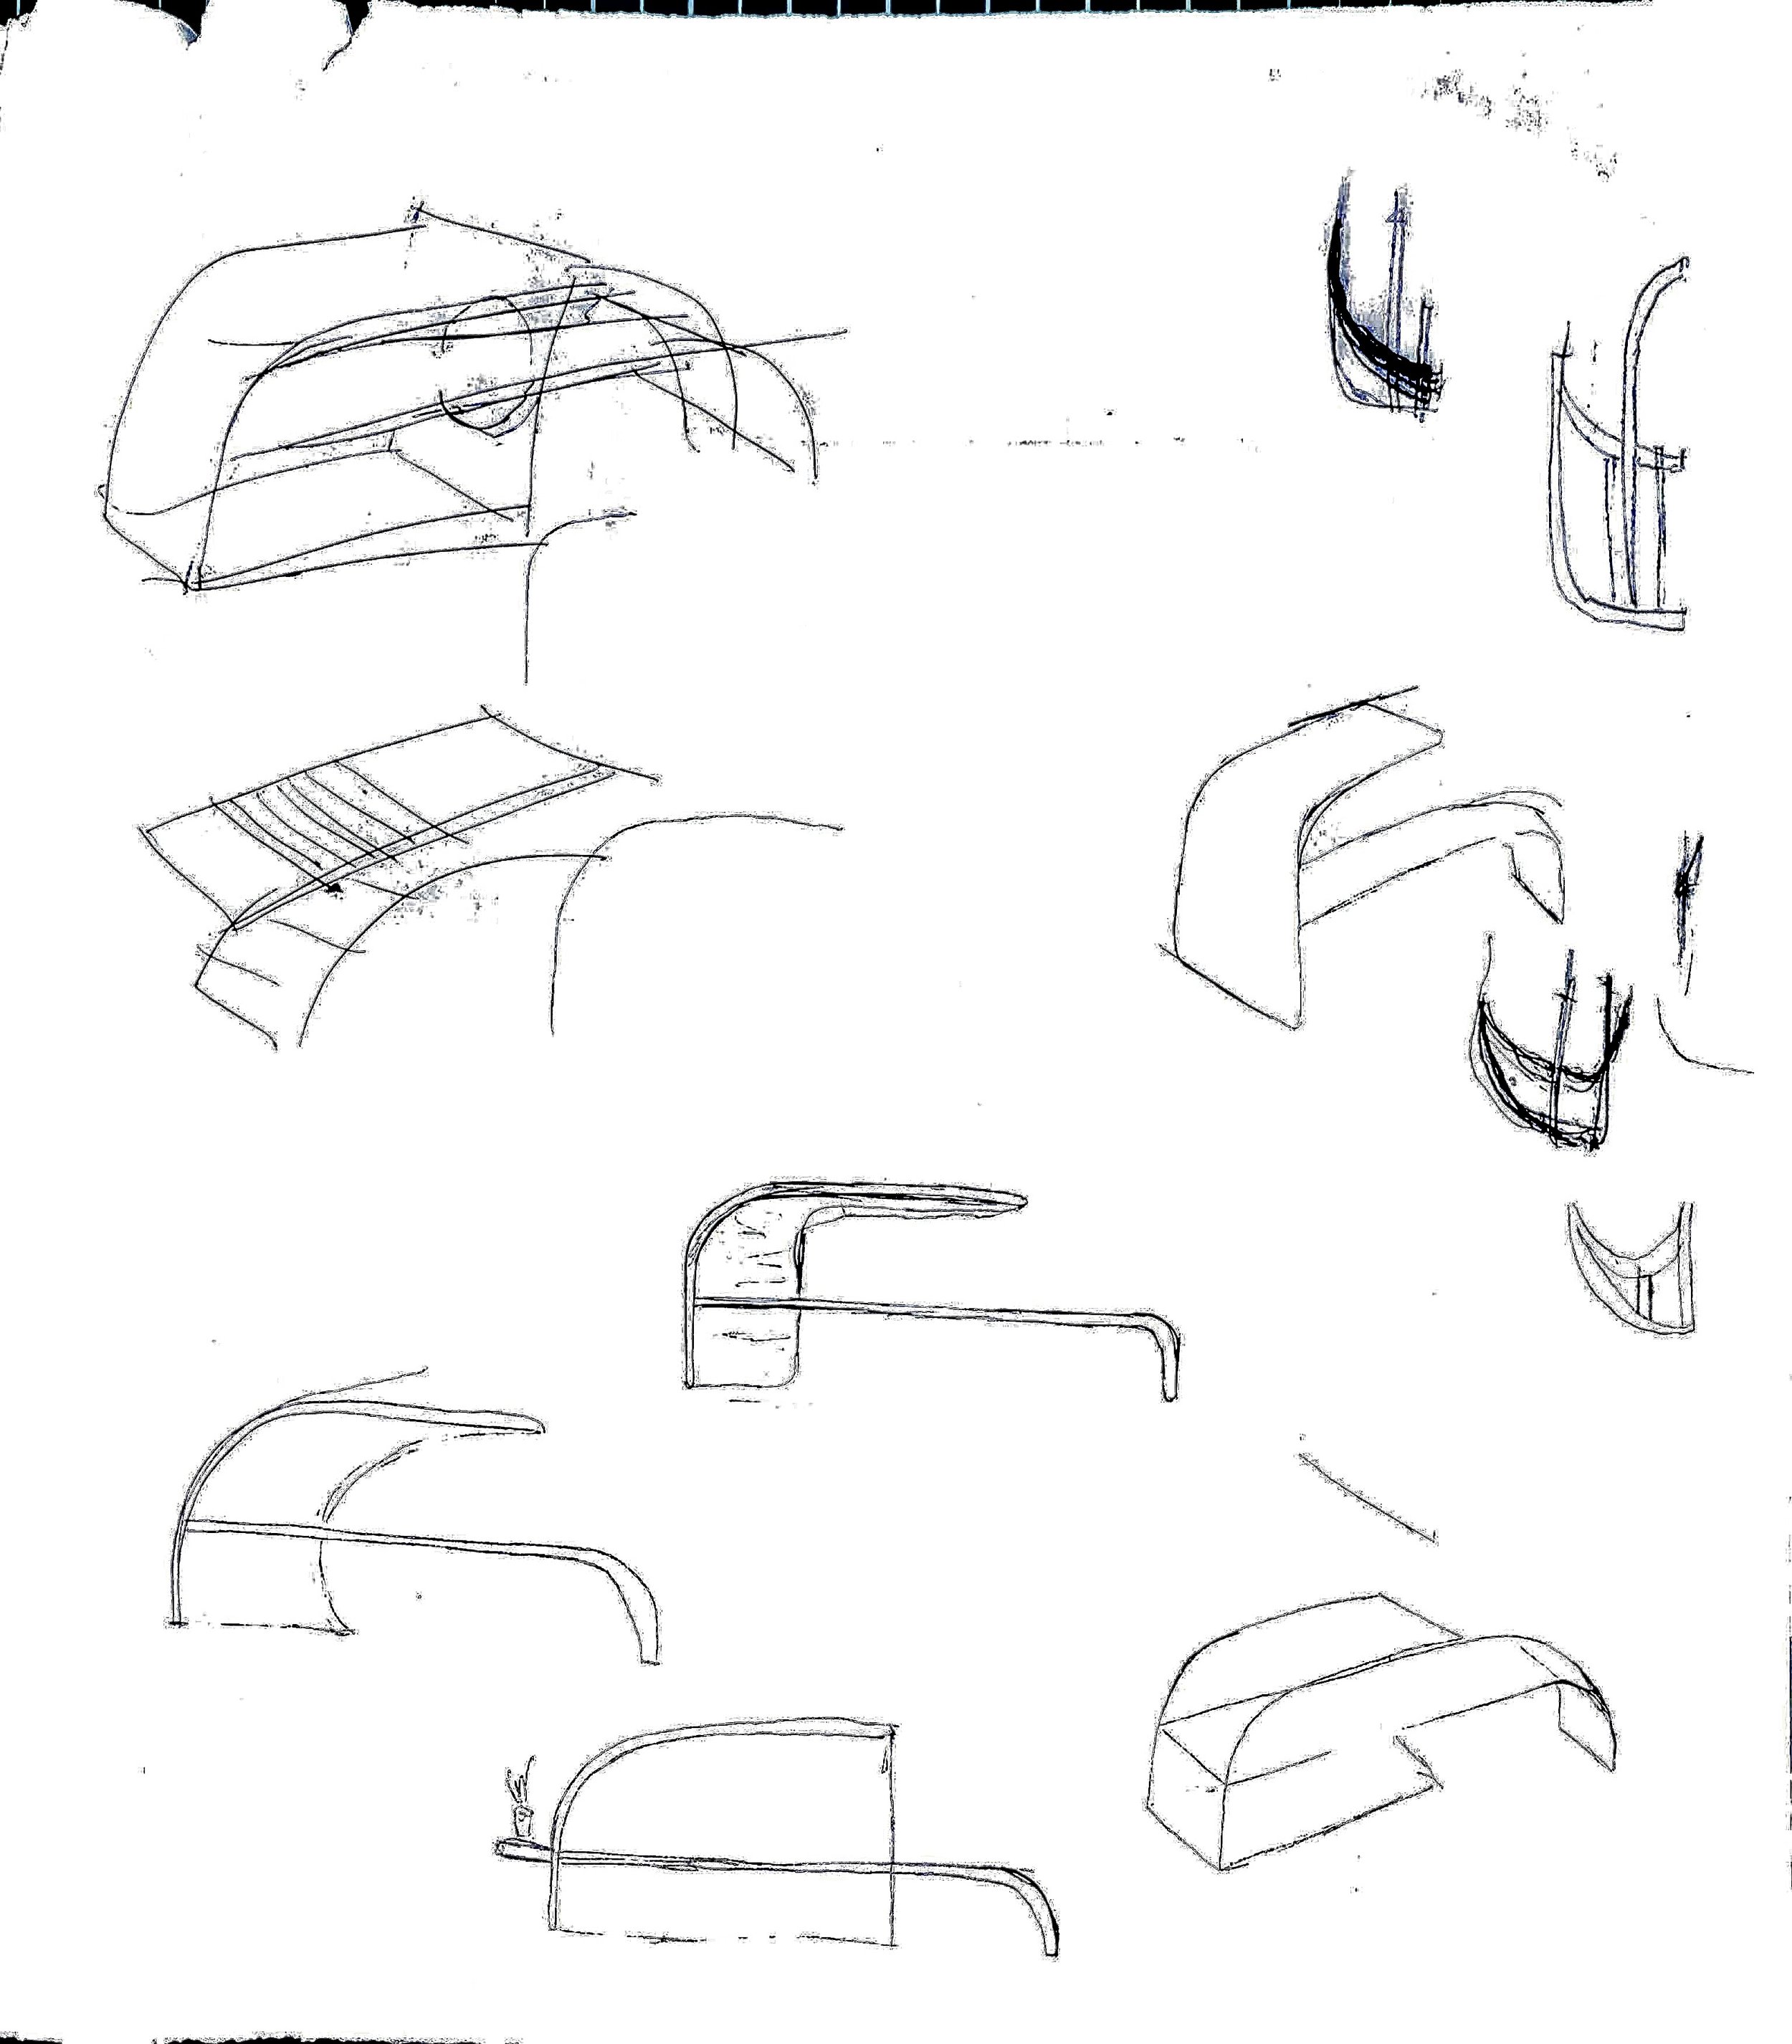
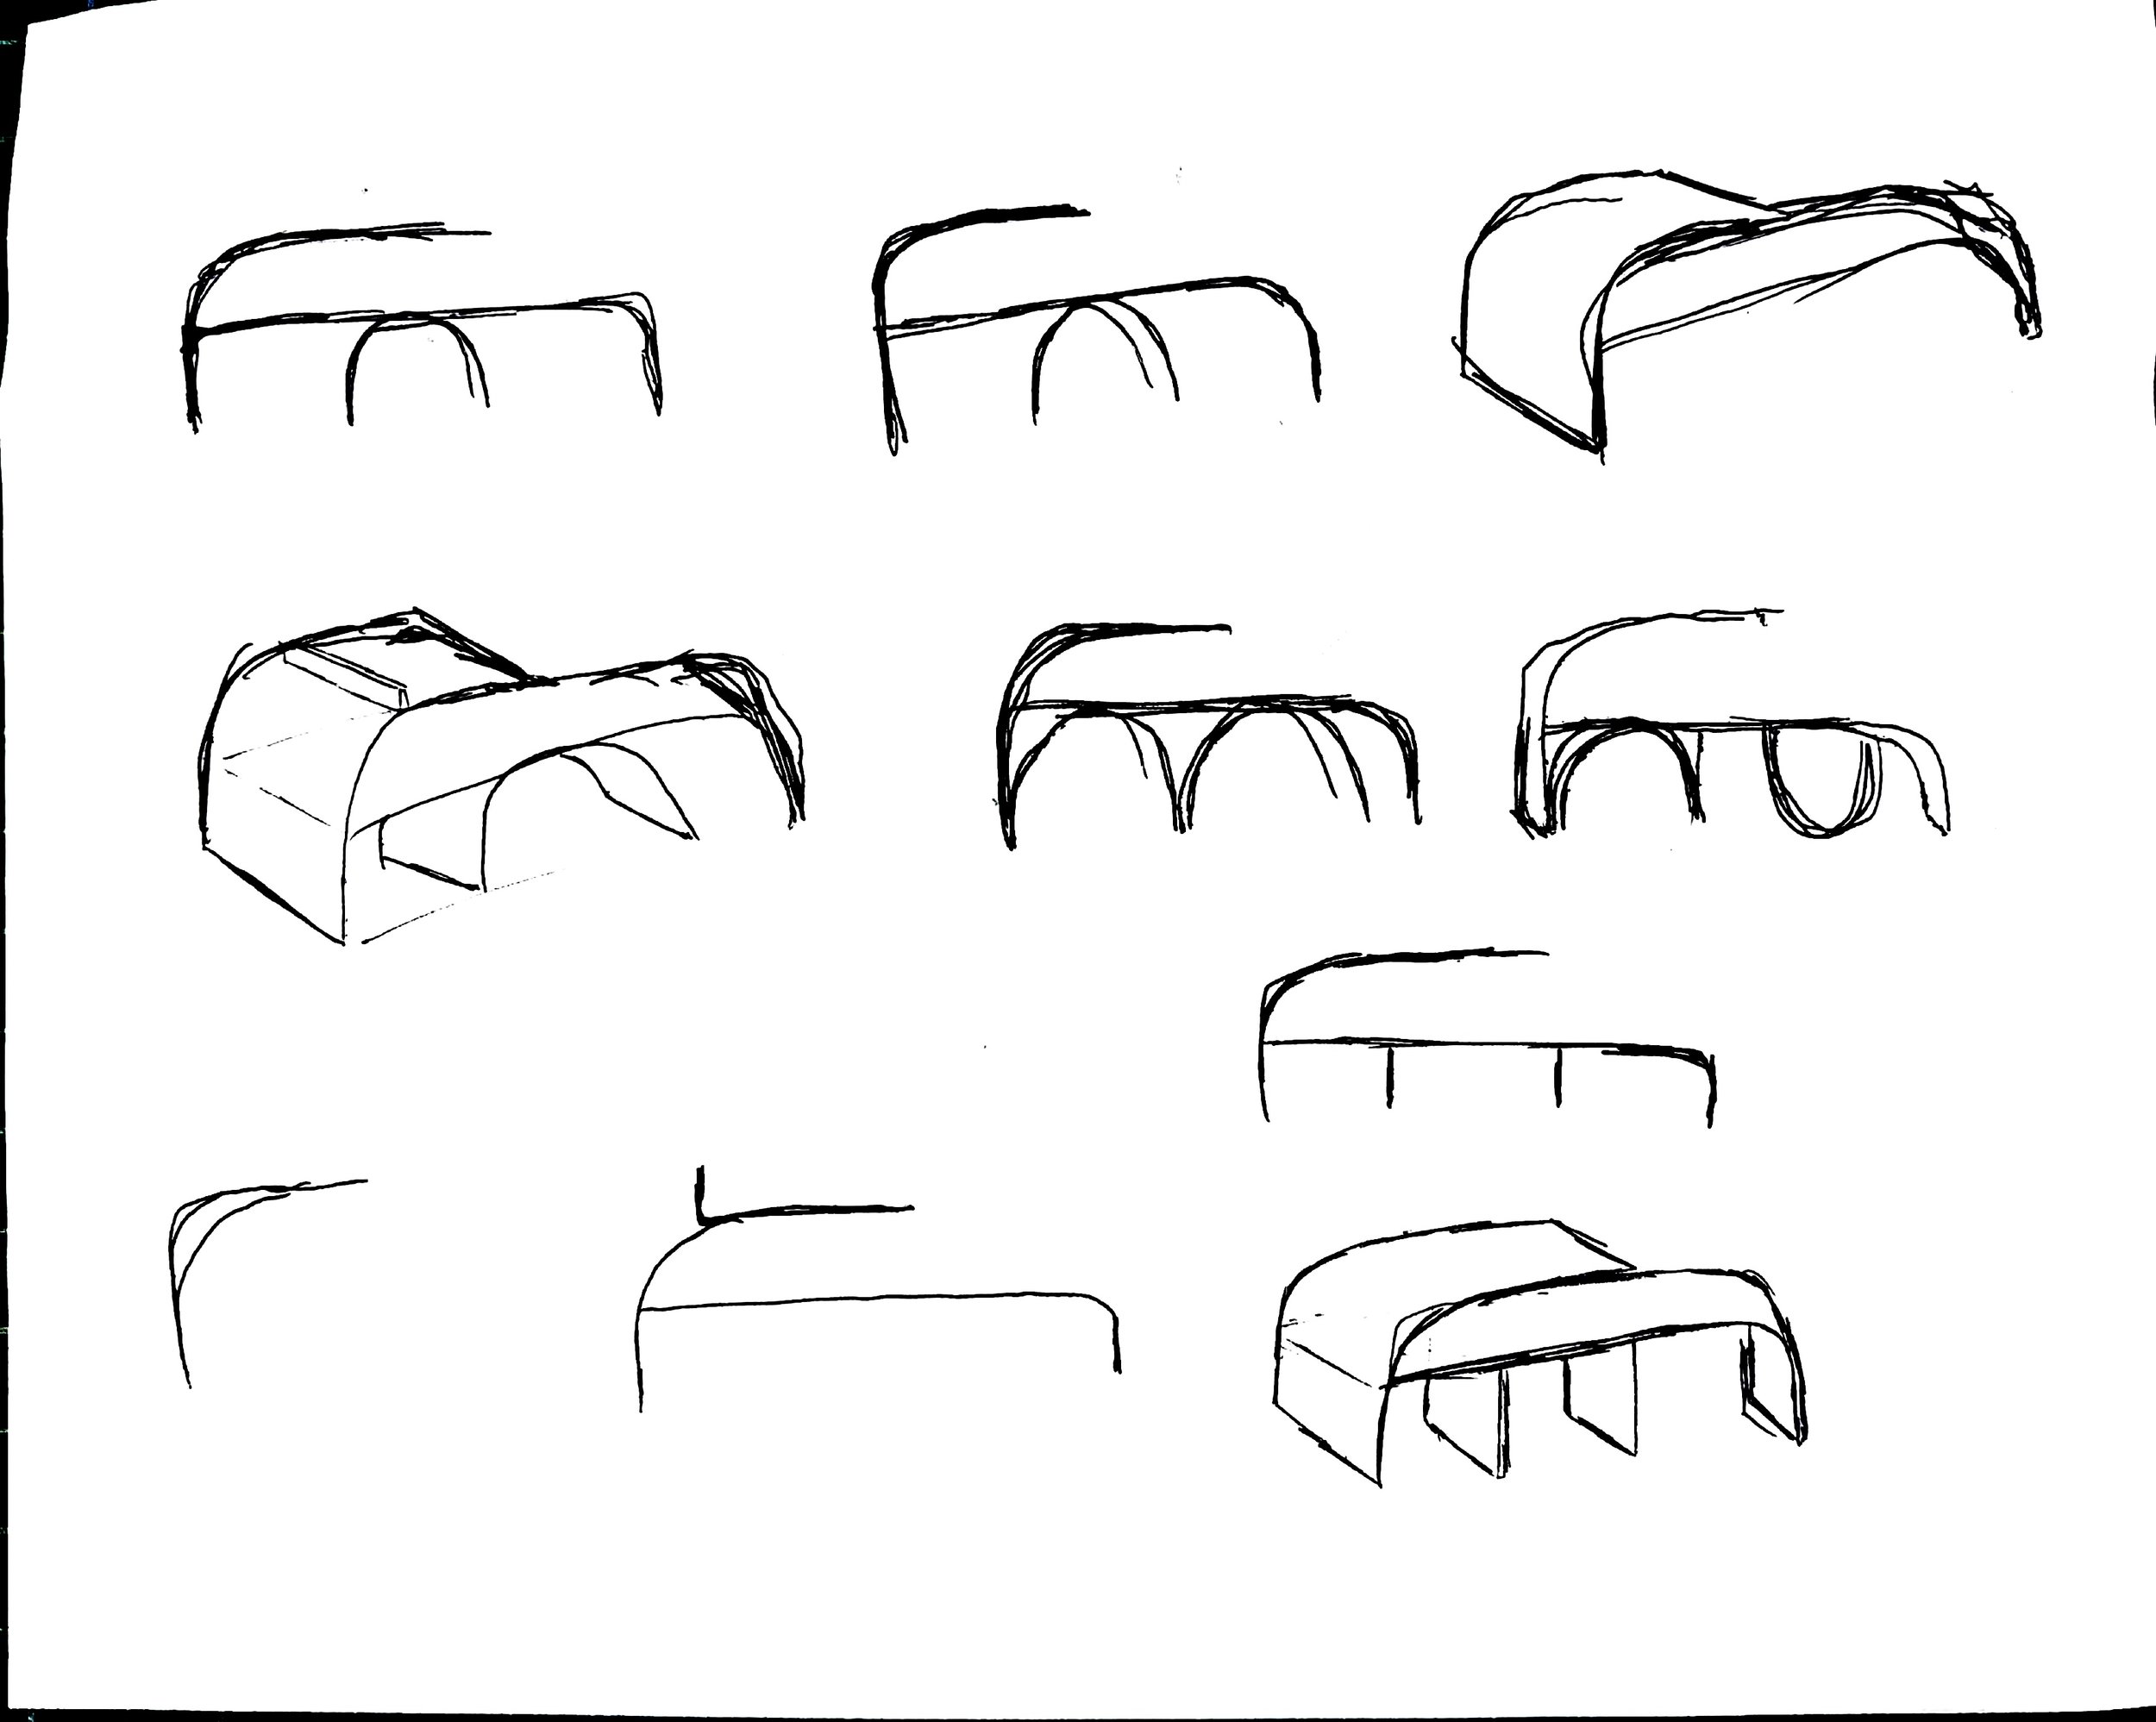
During my sketching process, I was testing out different shapes and architectures, eventually finding out I was going to design a coffee style table that could exist in a living room or between a couch and television. One of my main focuses was my design being completely open from all sides. I wanted my user to be able to access whatever this table was housing from any and all angles. A struggle regarding that was finding a proper way to support a coffee table that had multiple levels to it. My sketches show the many different iterations of support styles and potential variations that this shape could take on.
Final Sketch and card-stock model:
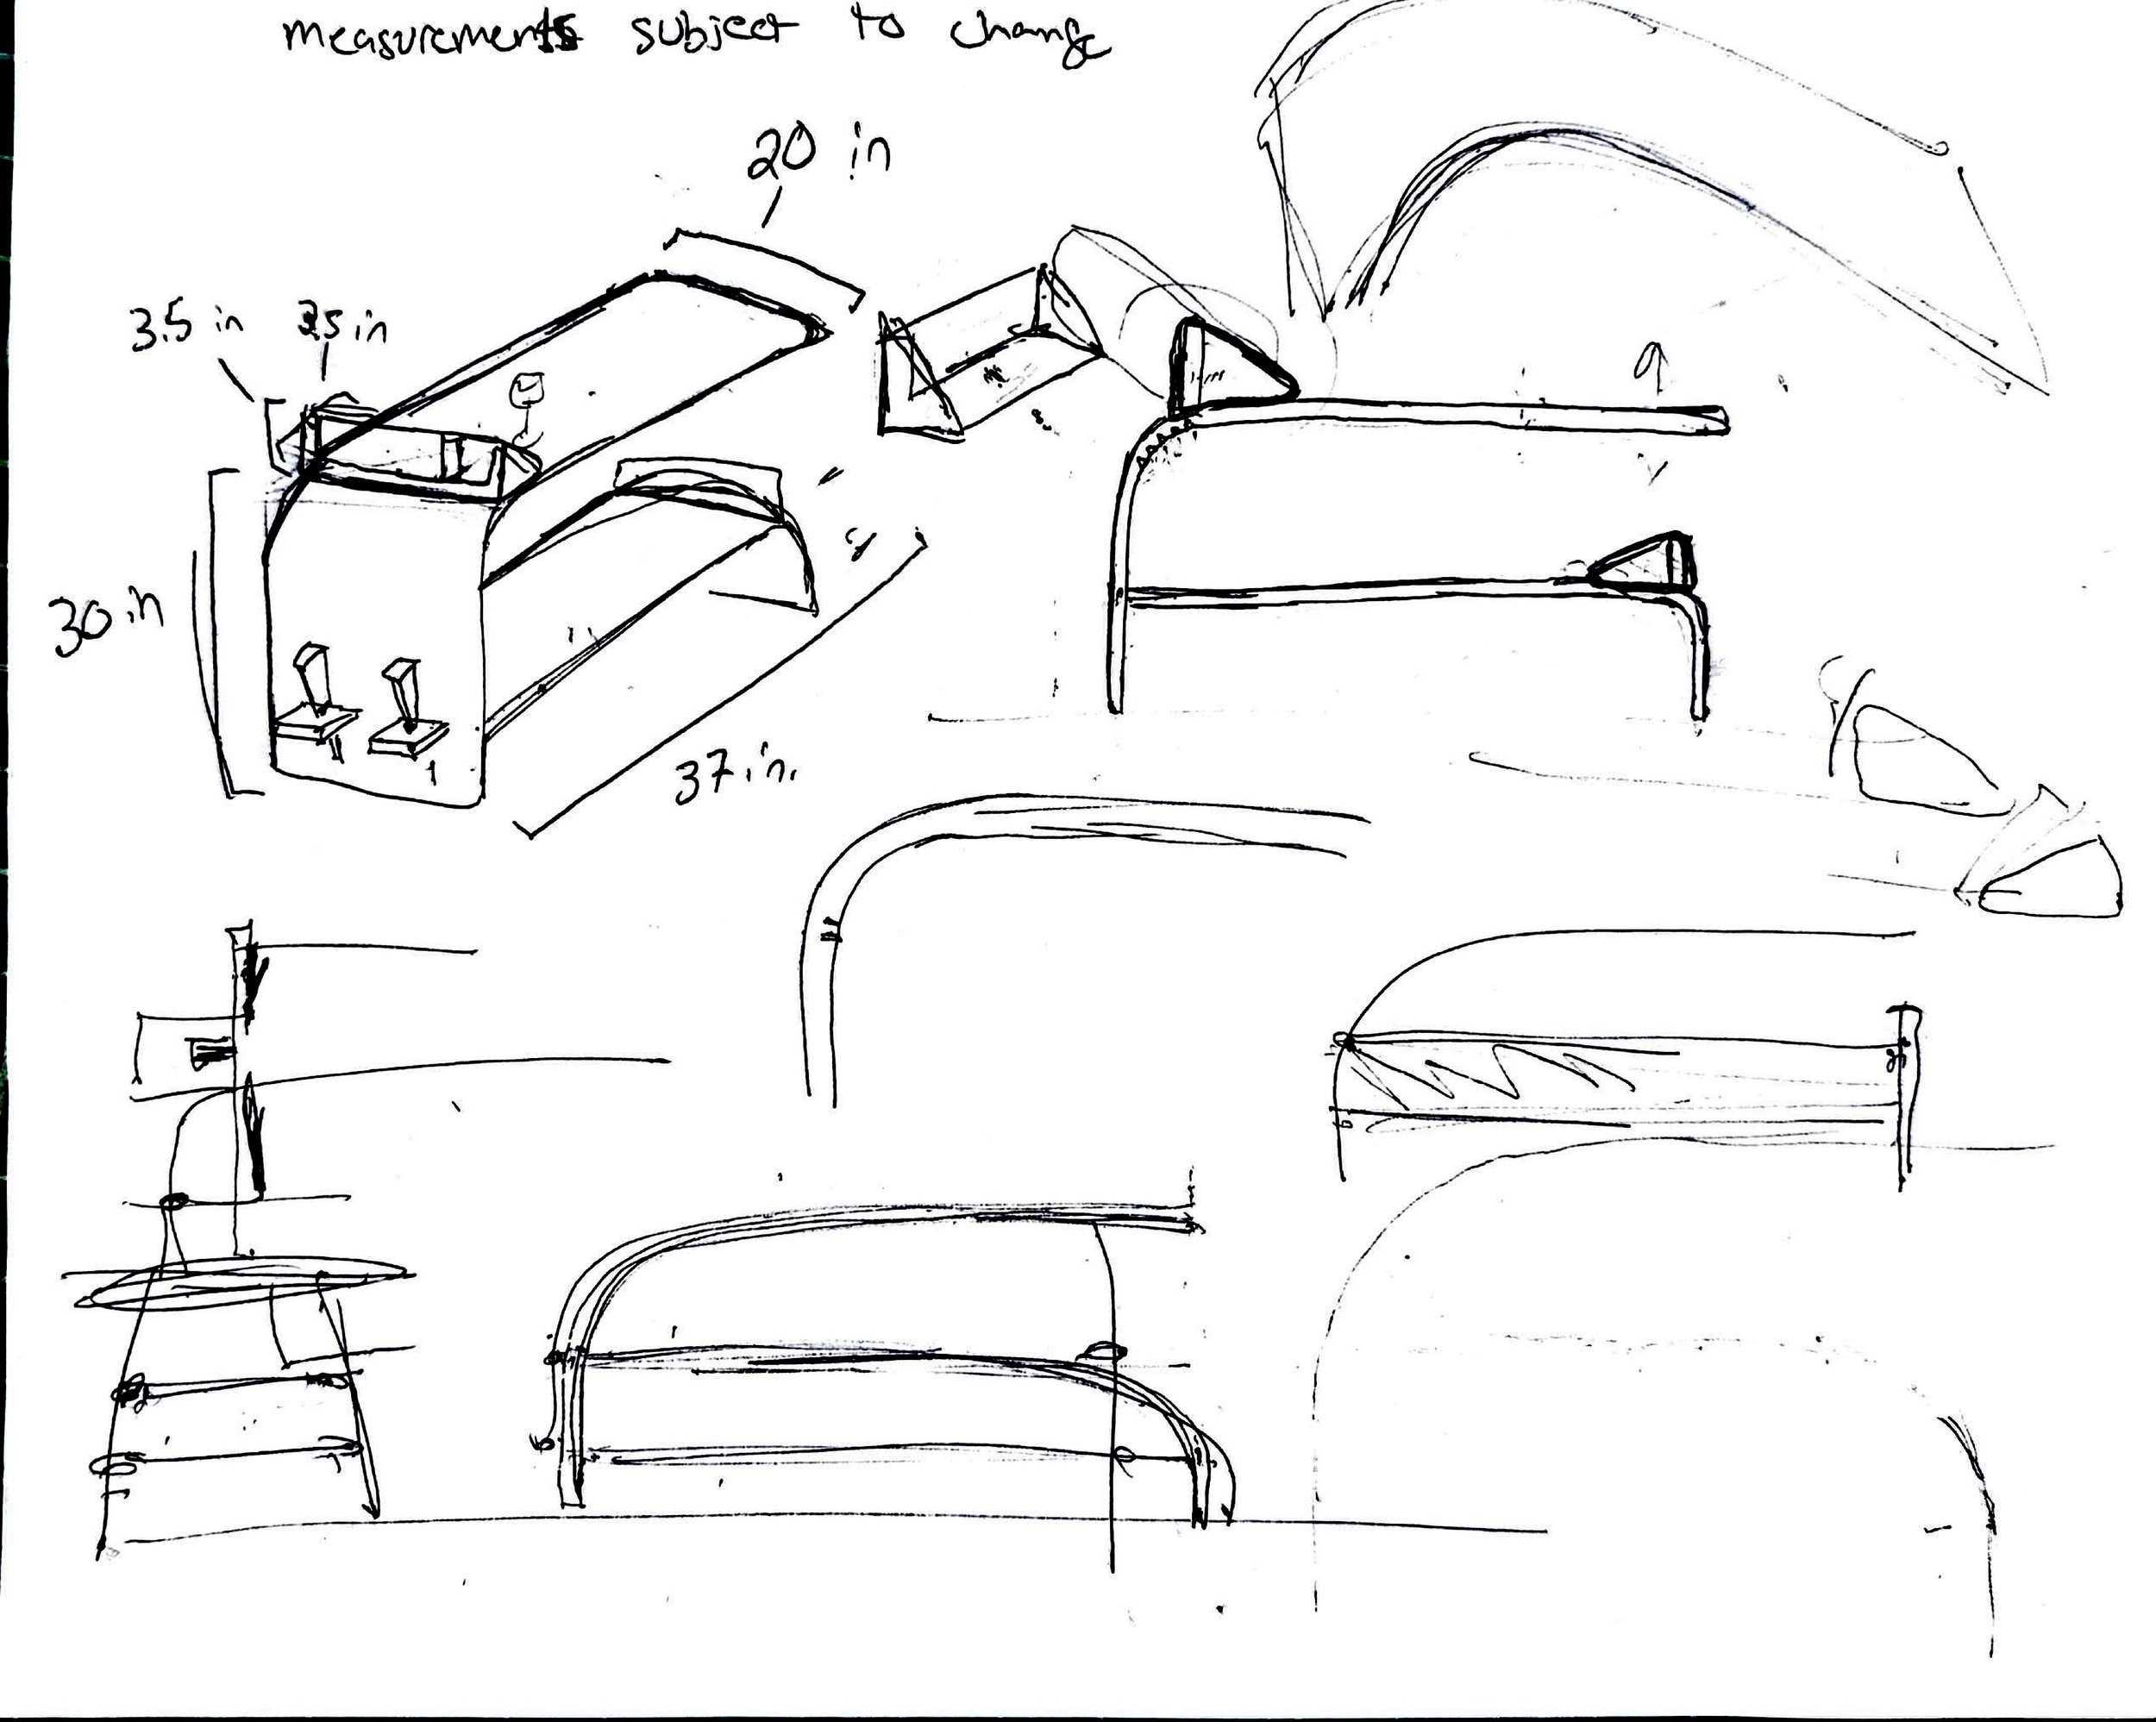
After my numerous sketches, I settled on a design, estimated dimensions and sketched a final dimensionally accurate model. In order to confirm I had made the right estimations, I made a replica in centimeters as opposed to inches of my design.
Construction Process
Step 1: Forming my shapes
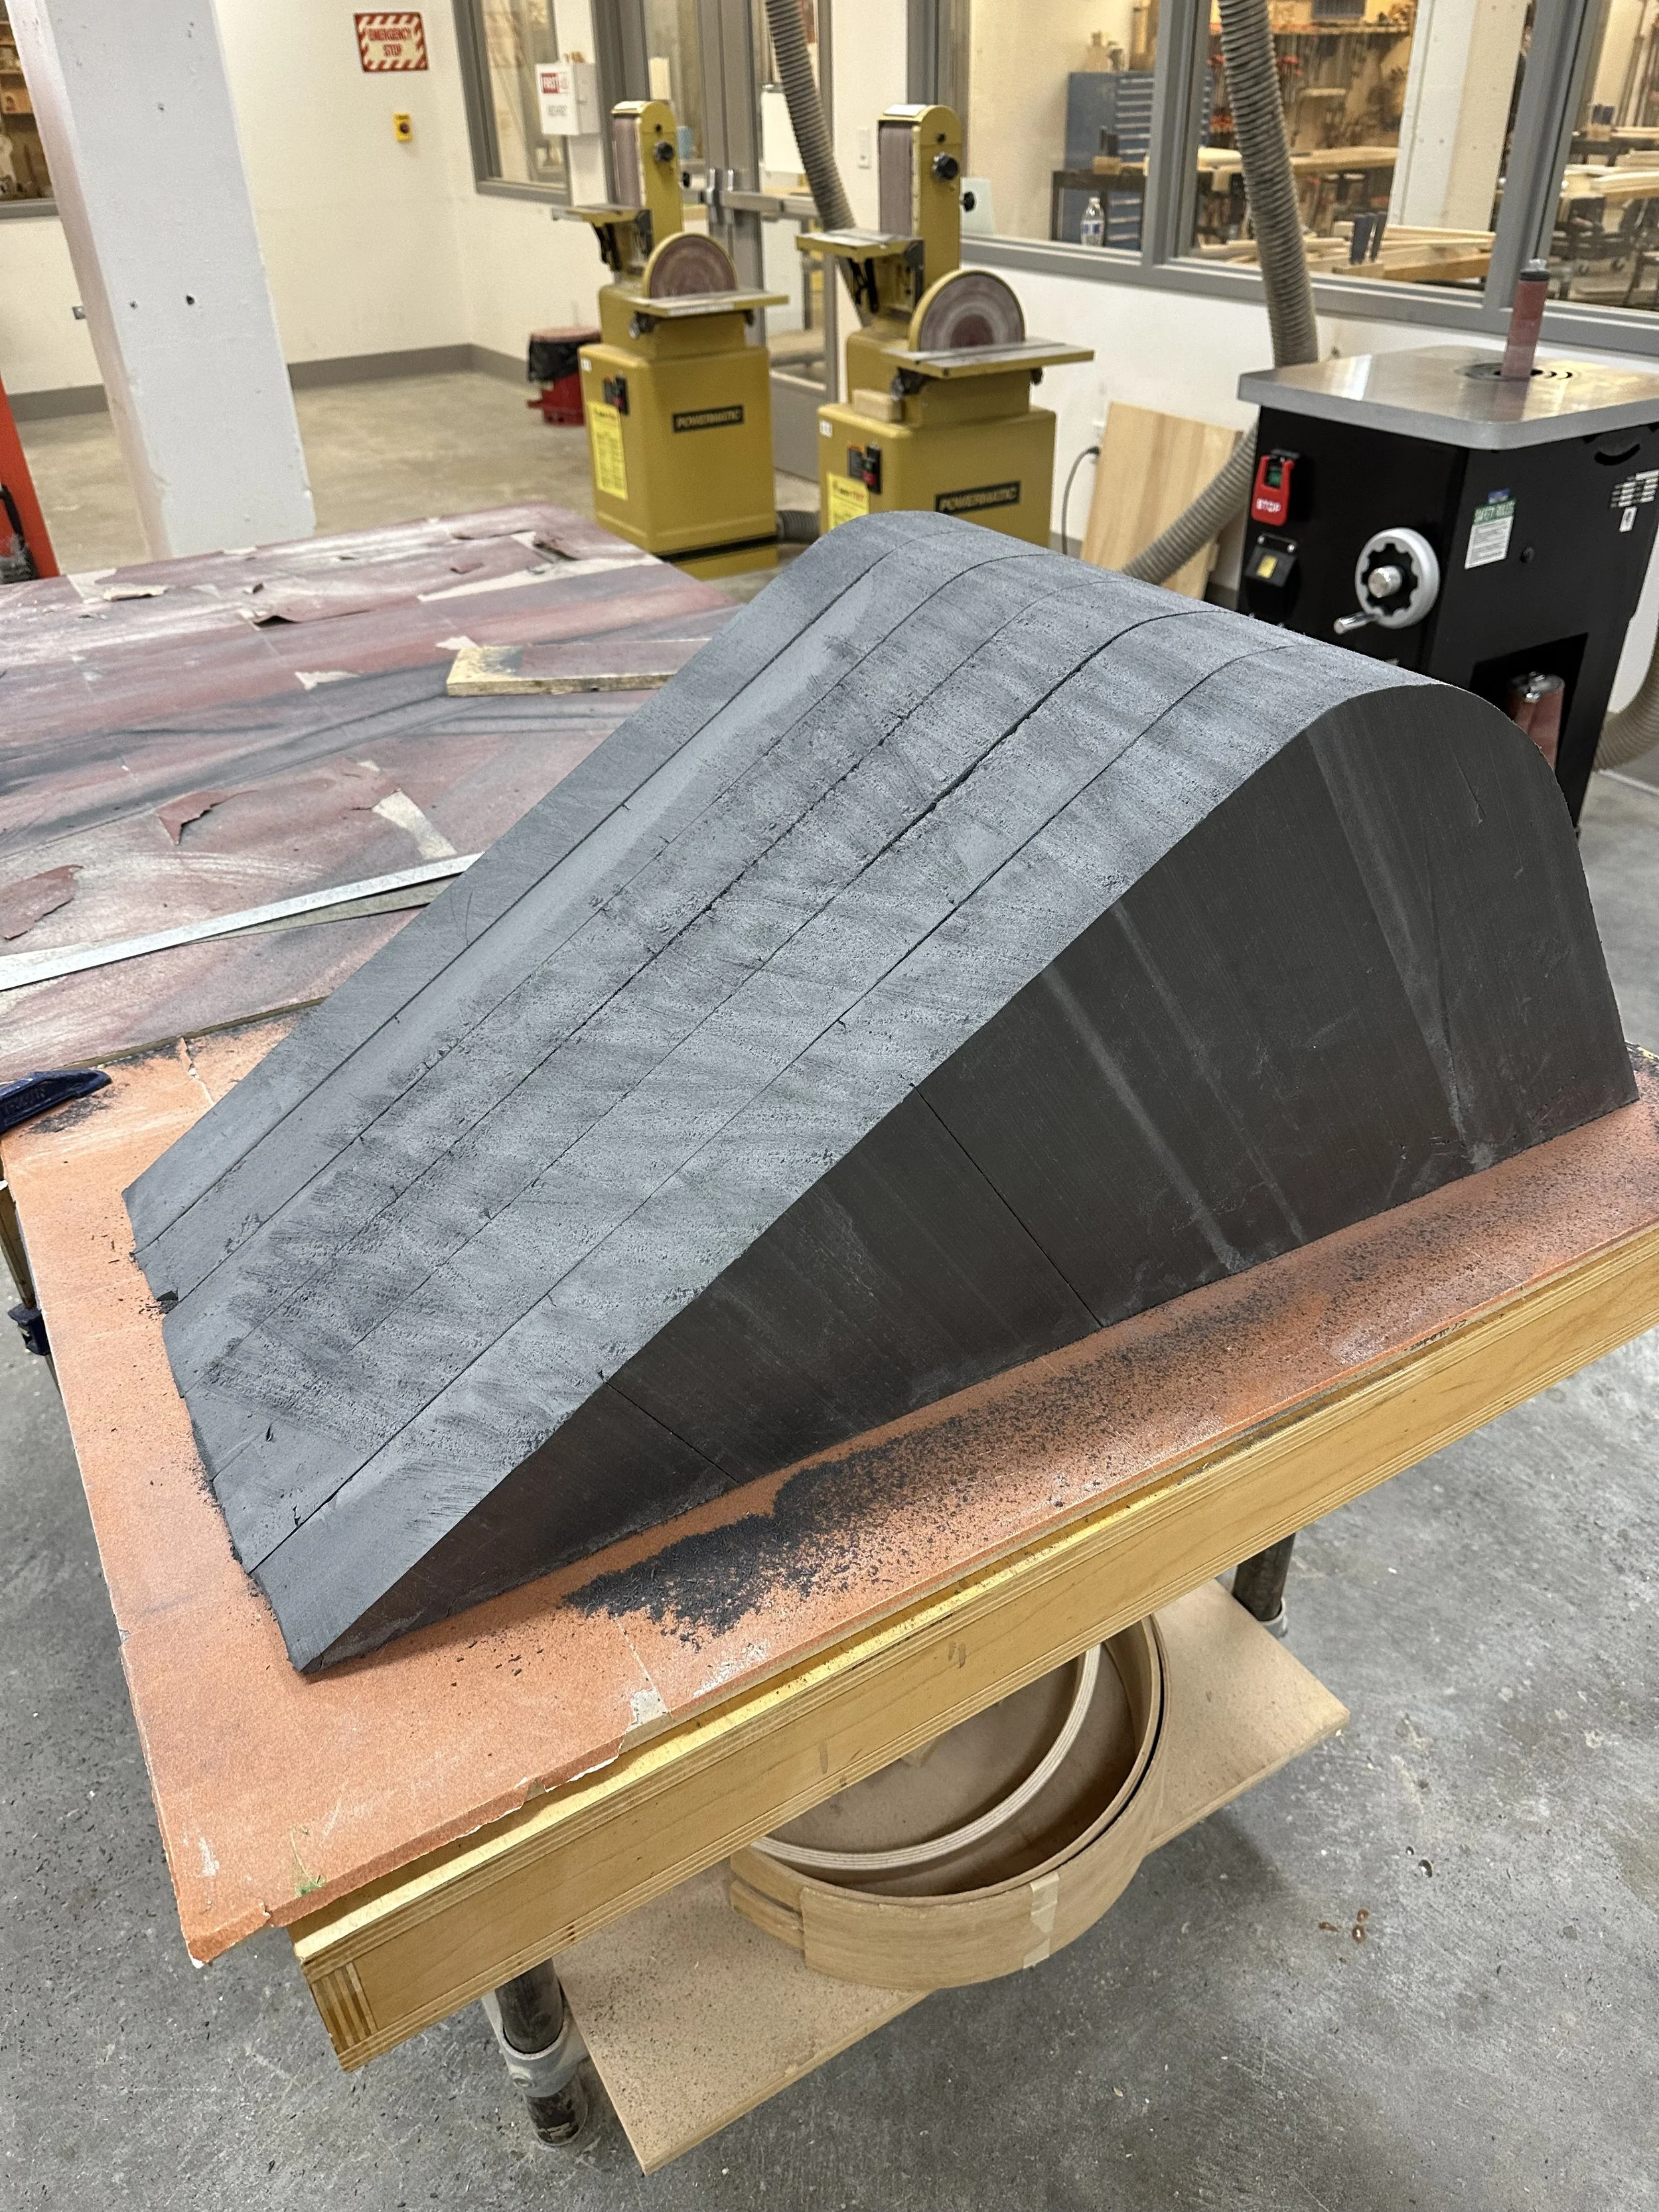
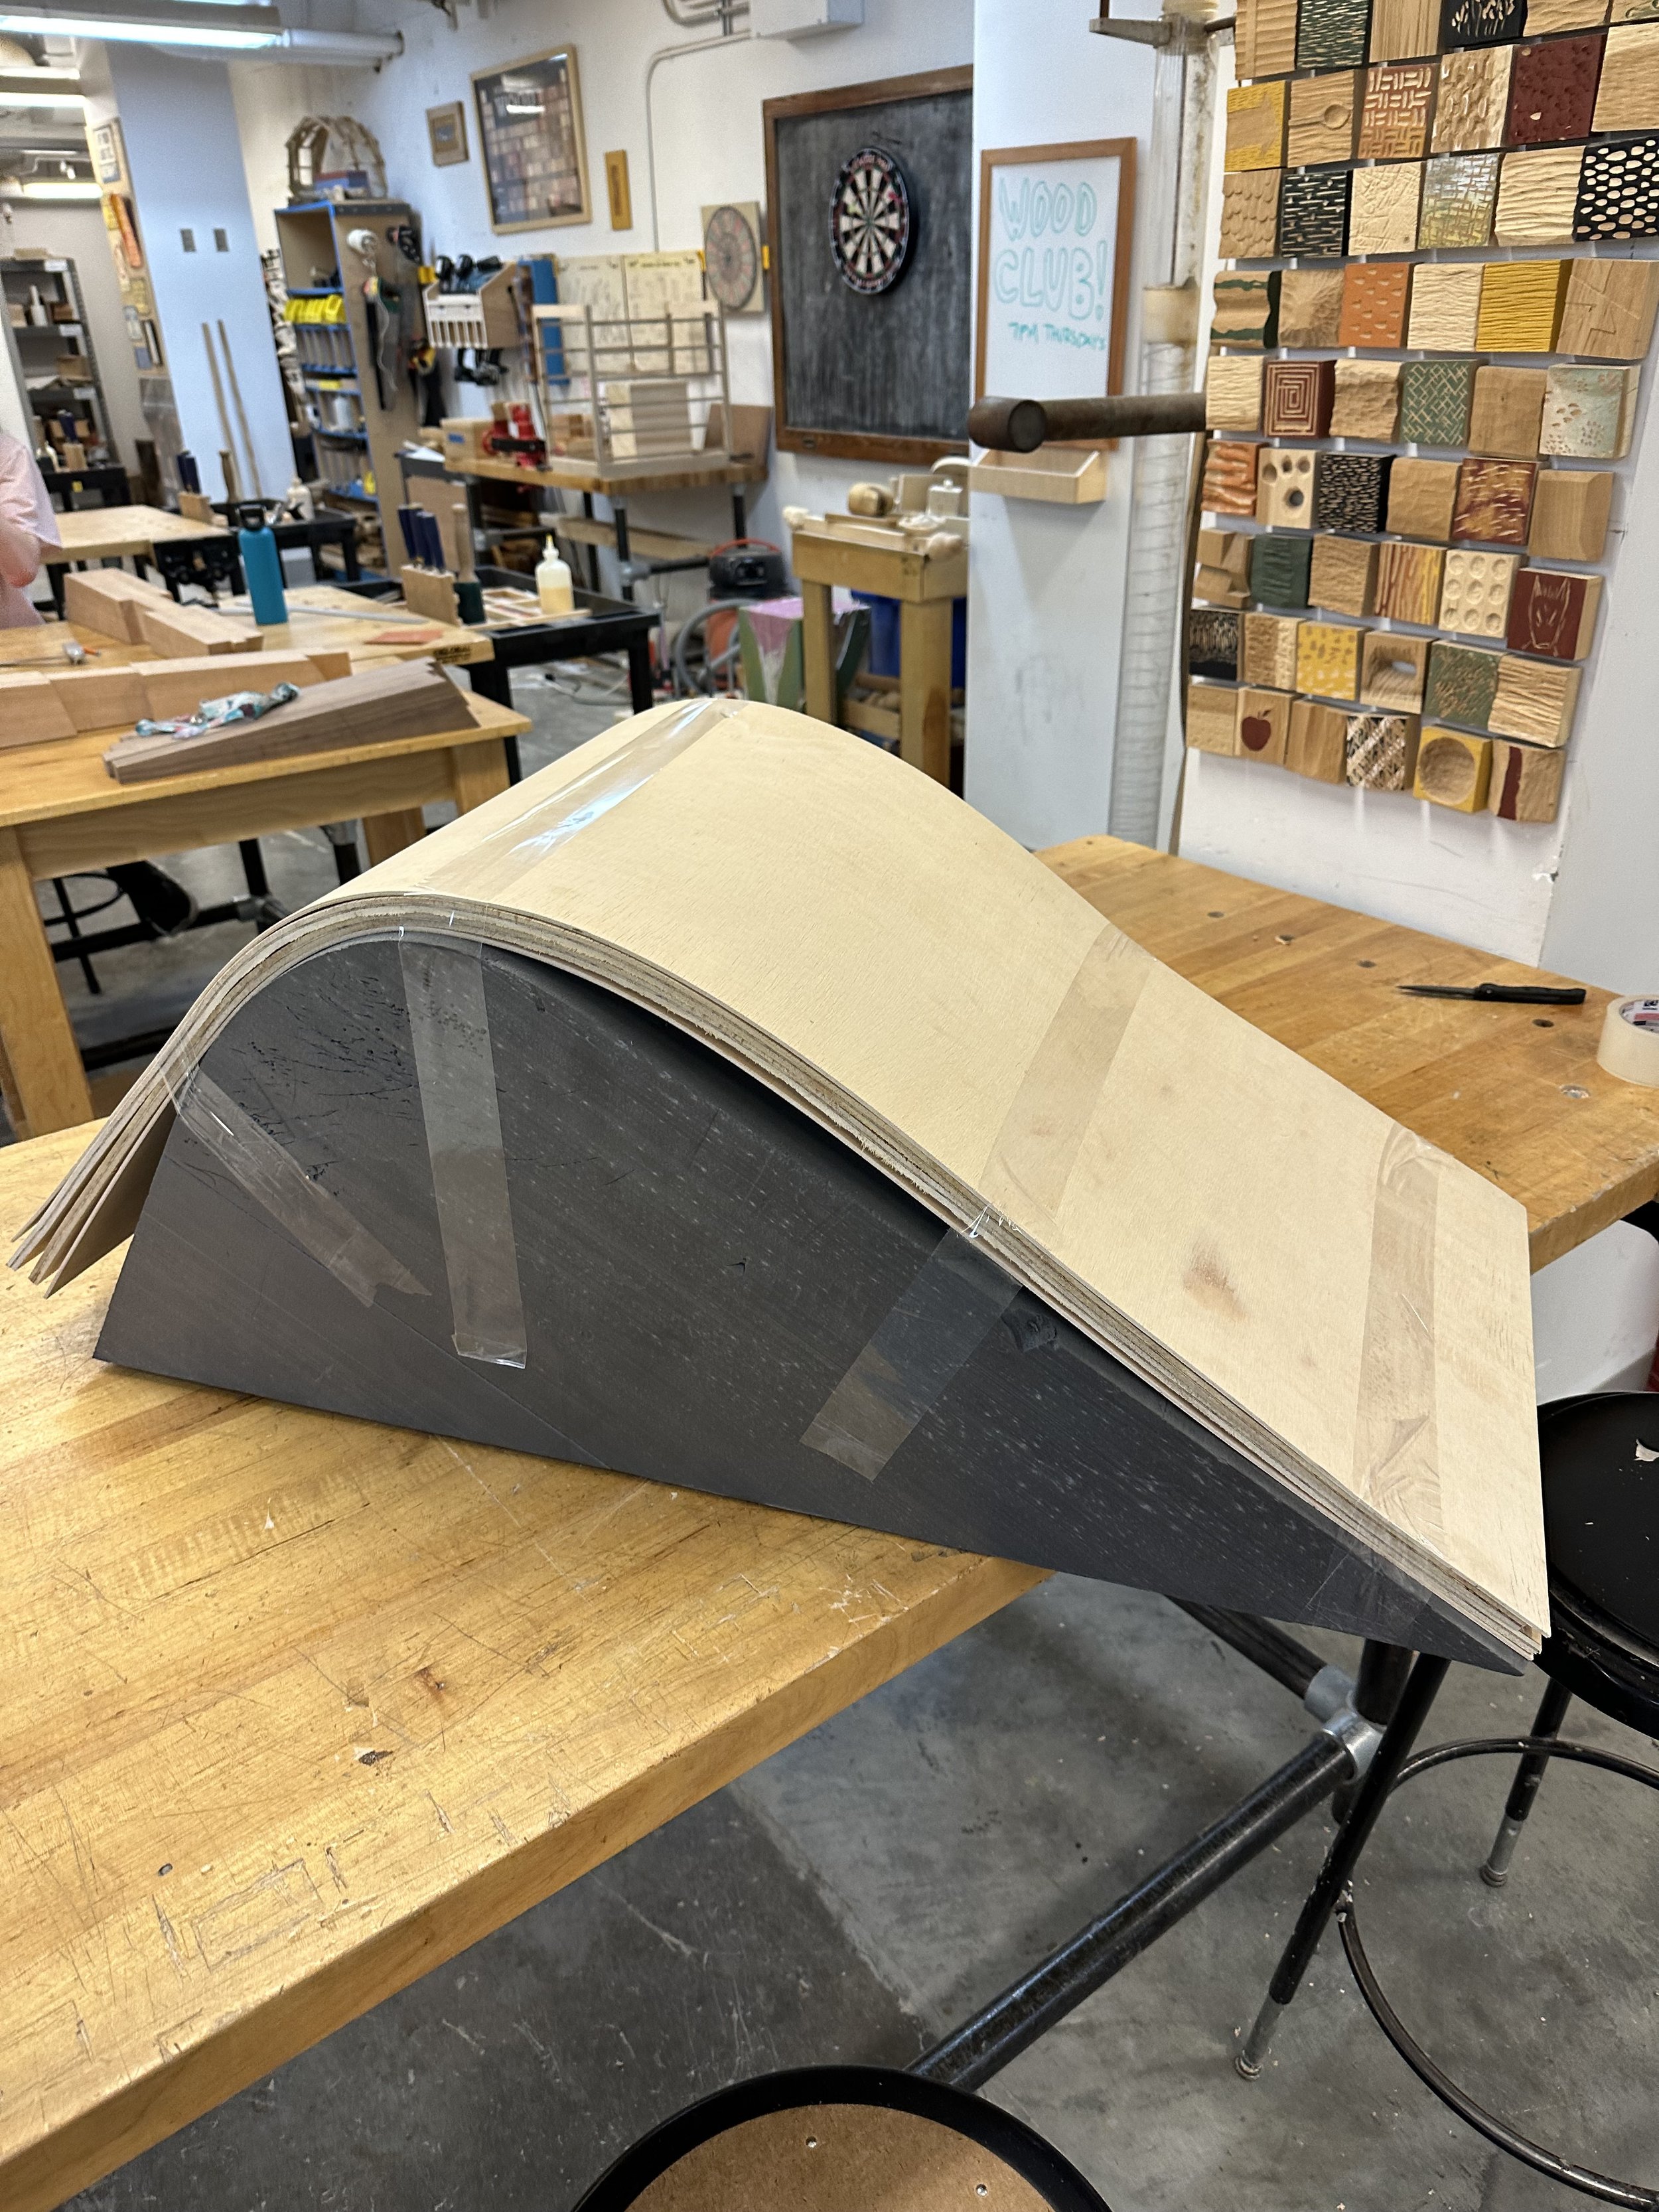
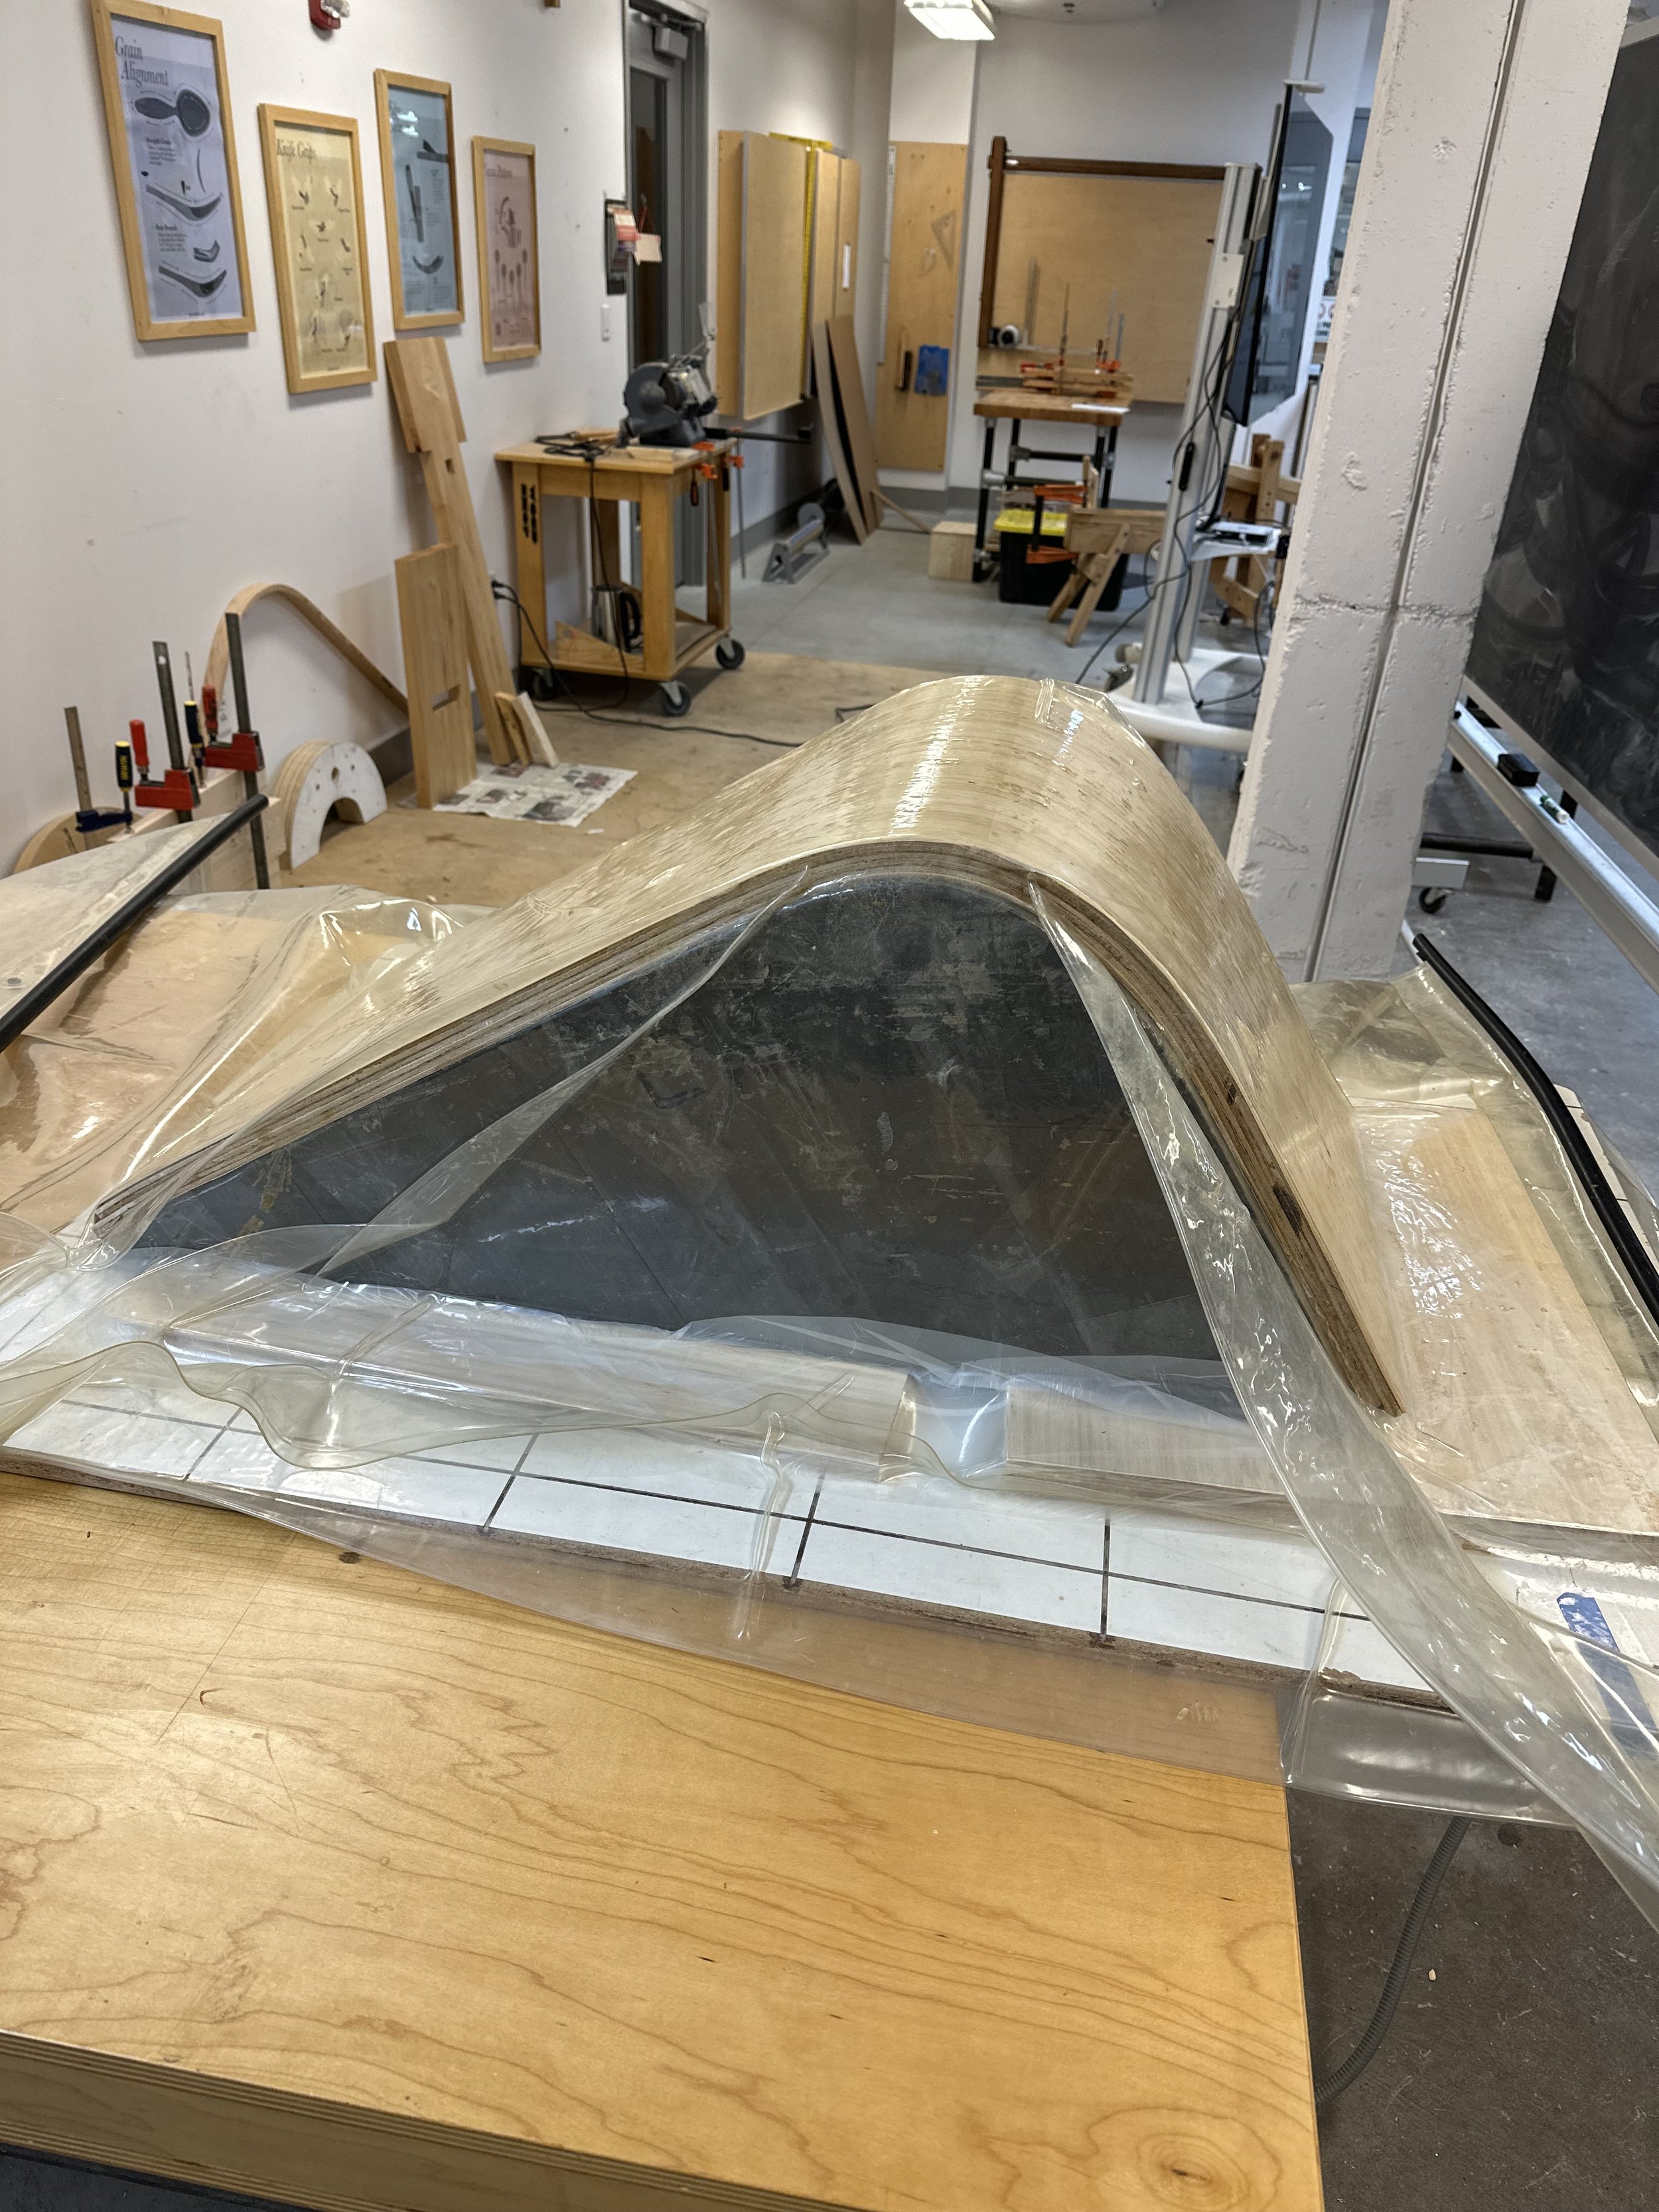
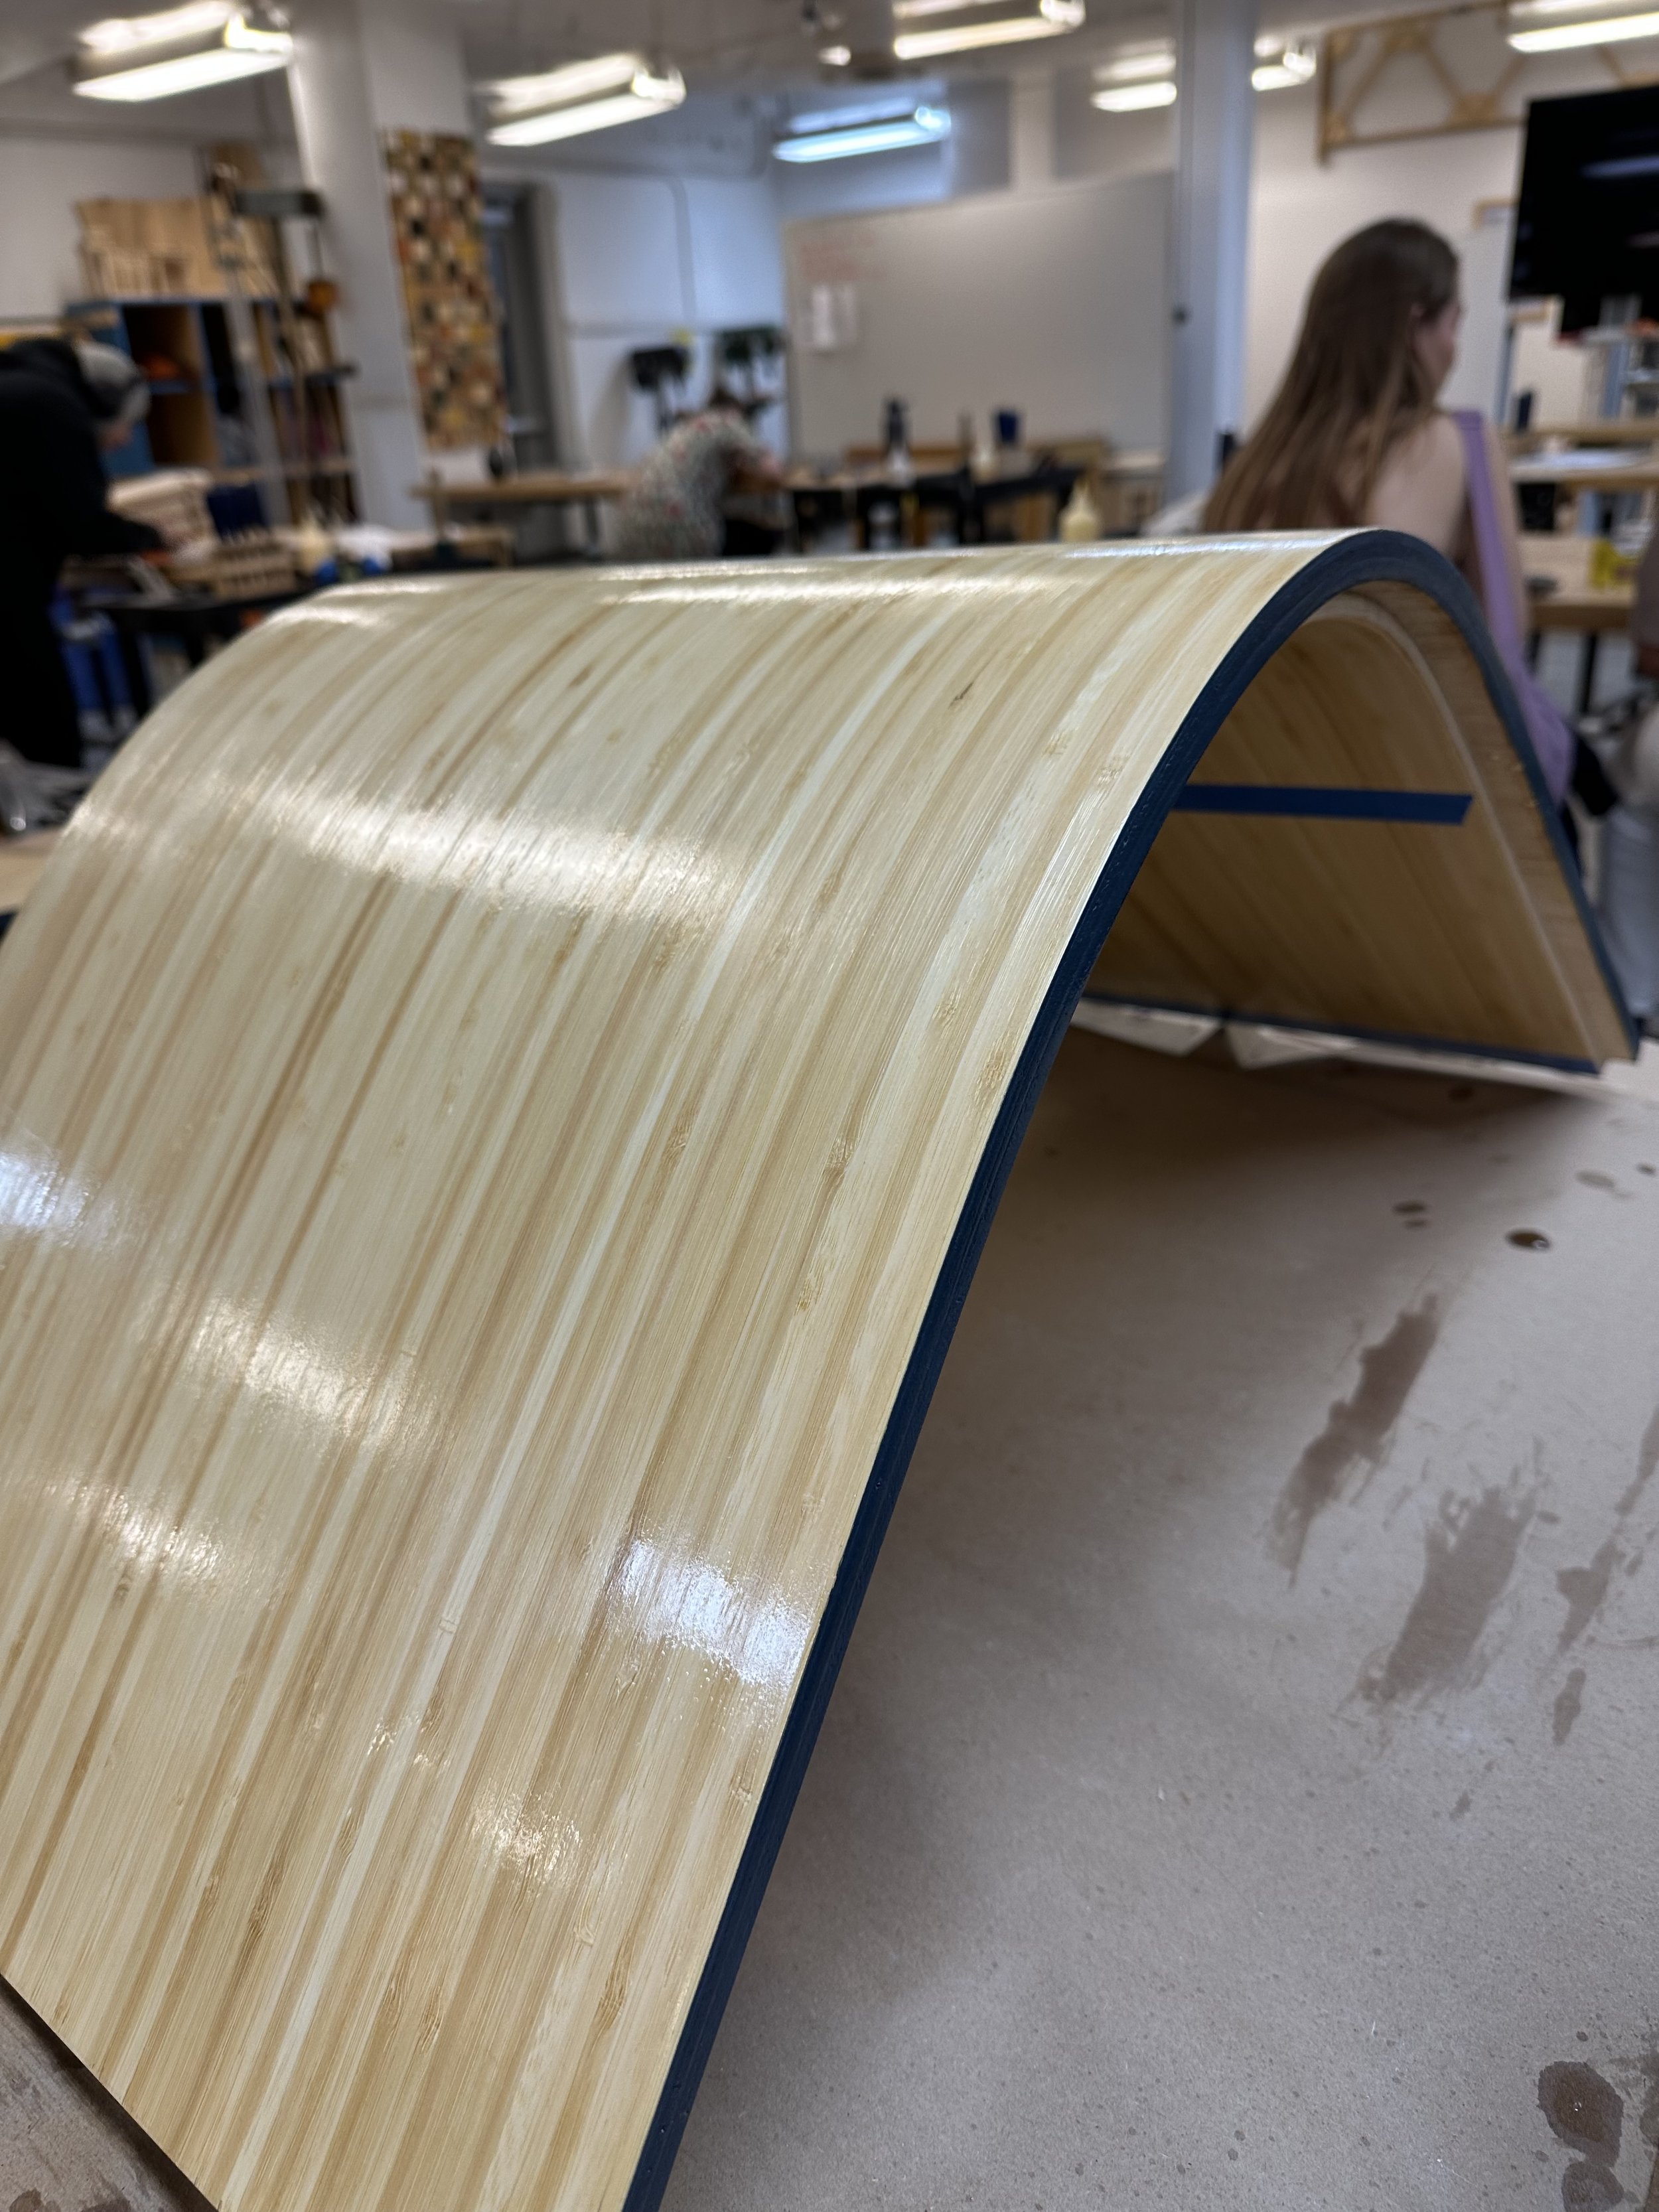
After sourcing my wacky wood from Boutler Plywood and bamboo veneer from Certainly Wood, I constructed a foam mold that I could shape my 2 wooden pieces around to get the shape I desired. After making this mold, I glued my plywood together between 2 sheets of bamboo veneer, placed on top of the mold, and then put it inside the vacuum sealer for a few days so the glue could dry and the mold would hold.
Step 2: Trimming and jointing
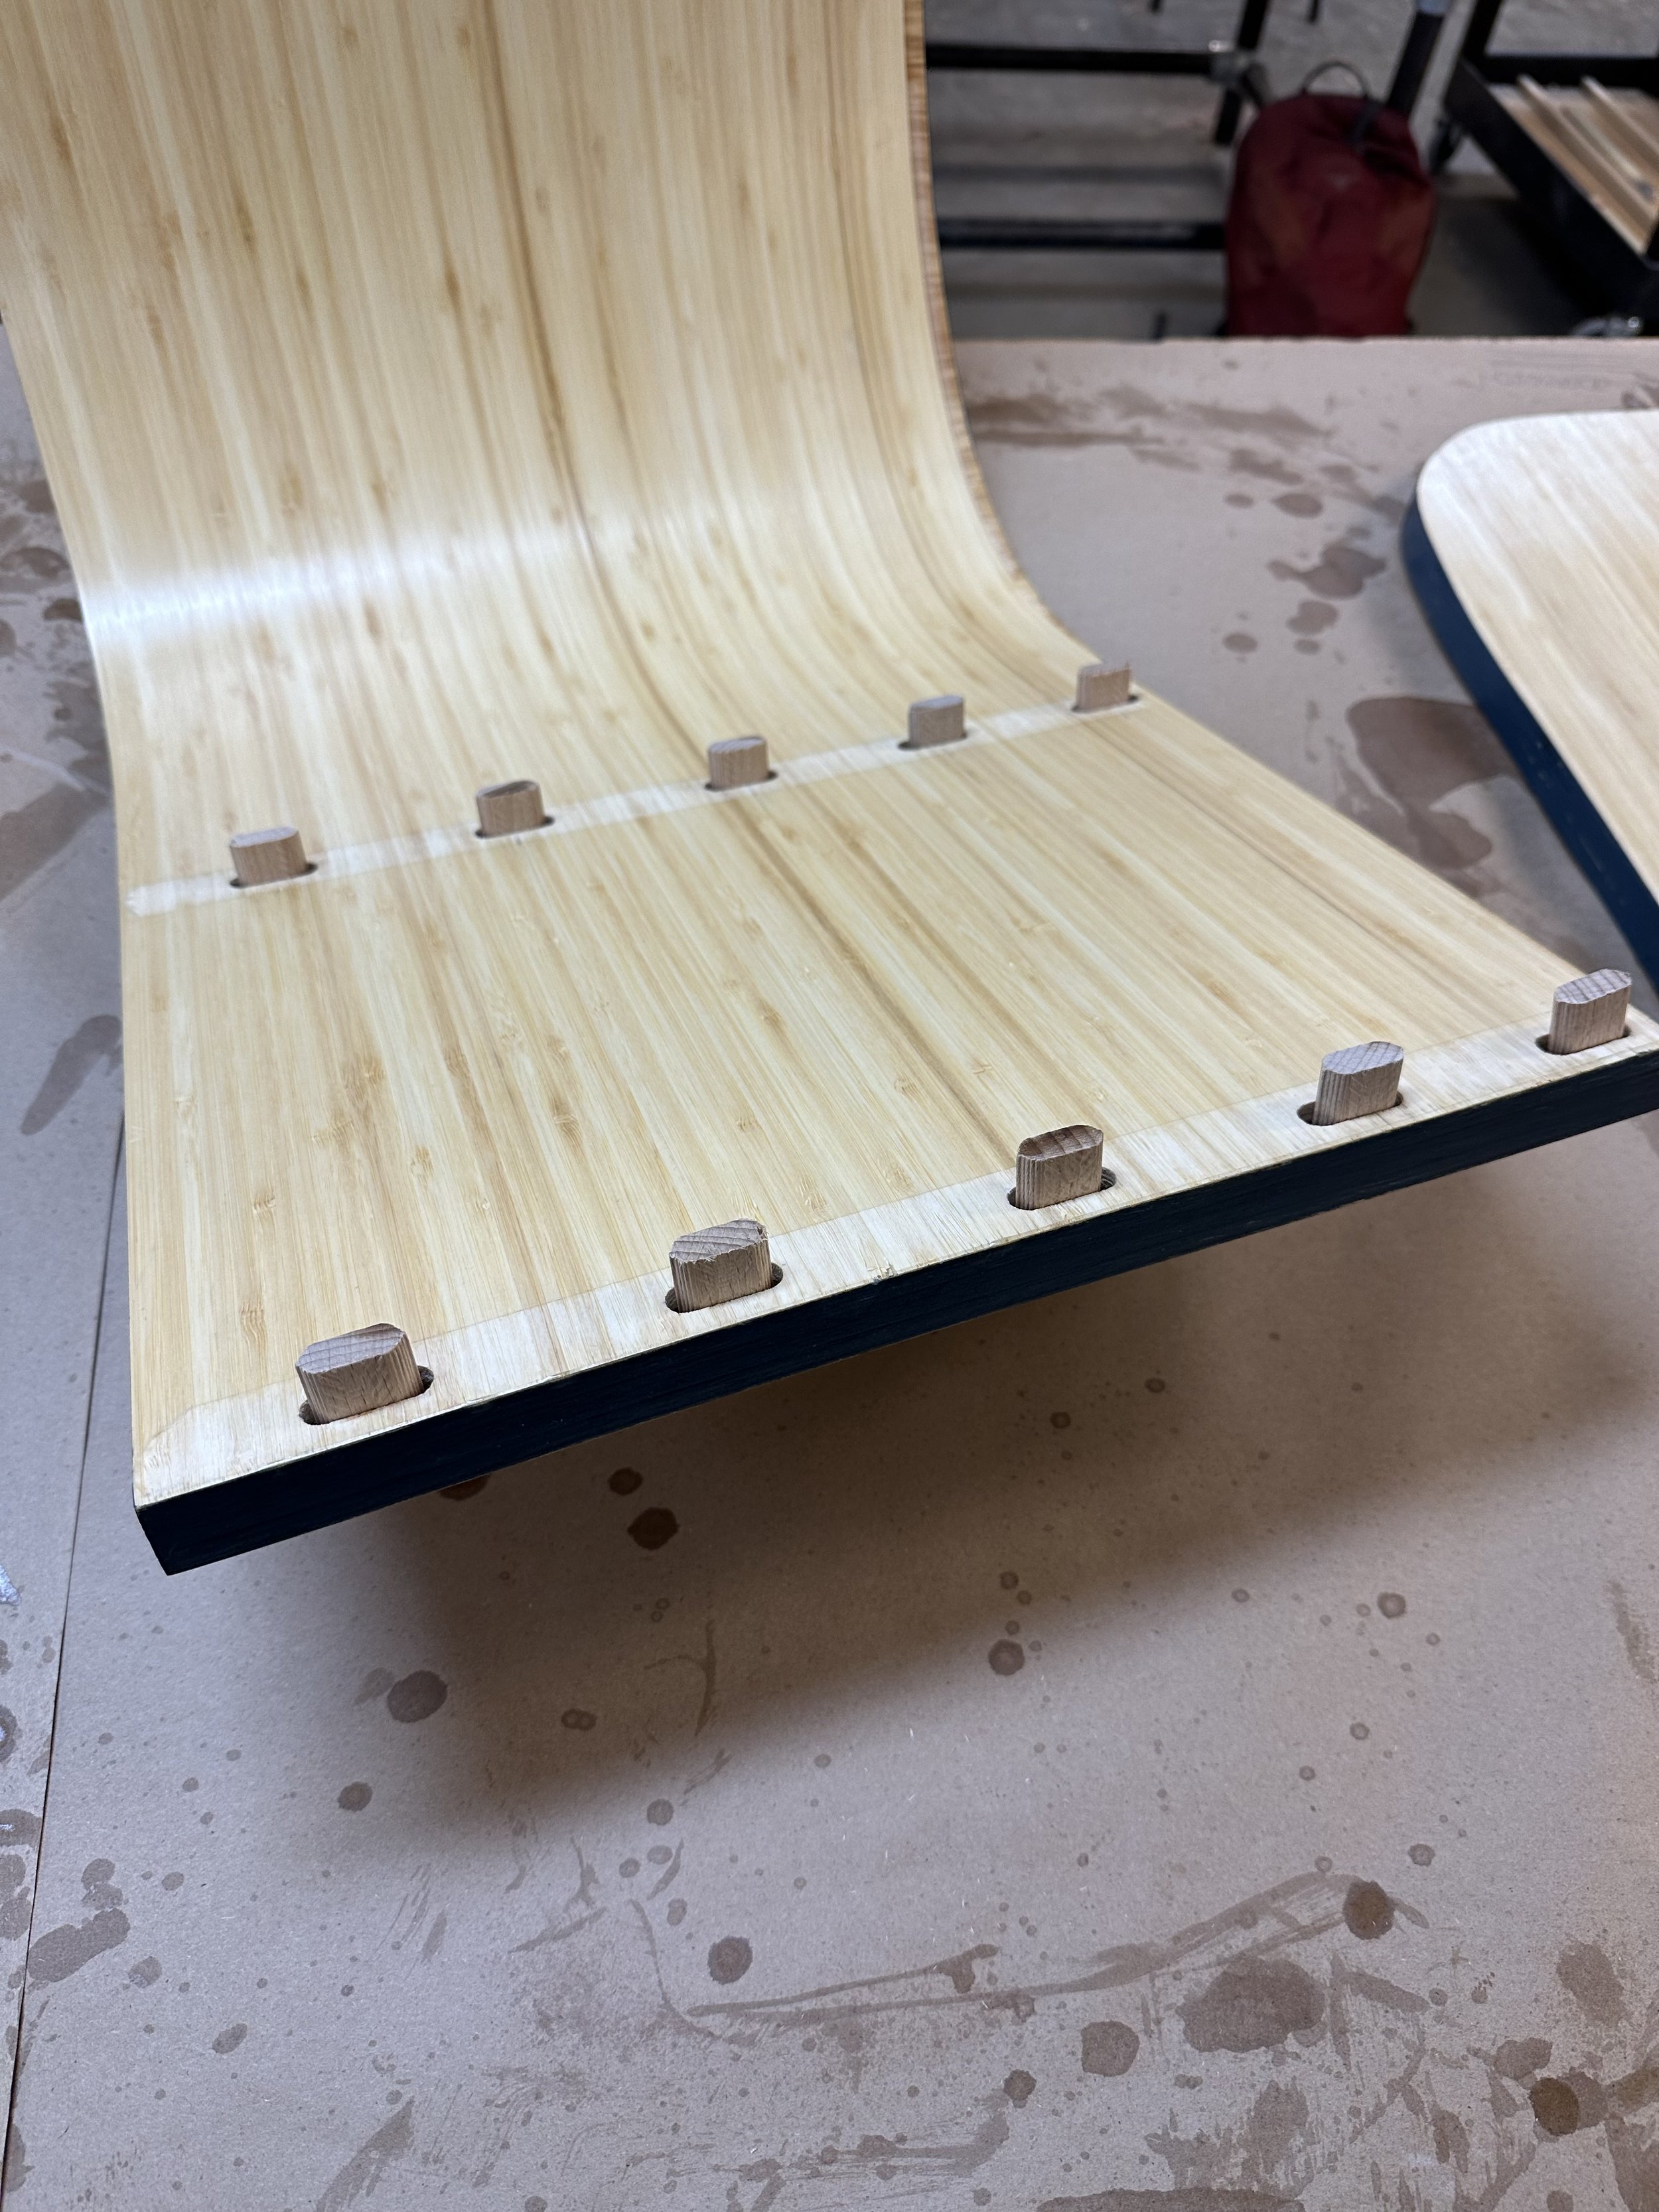
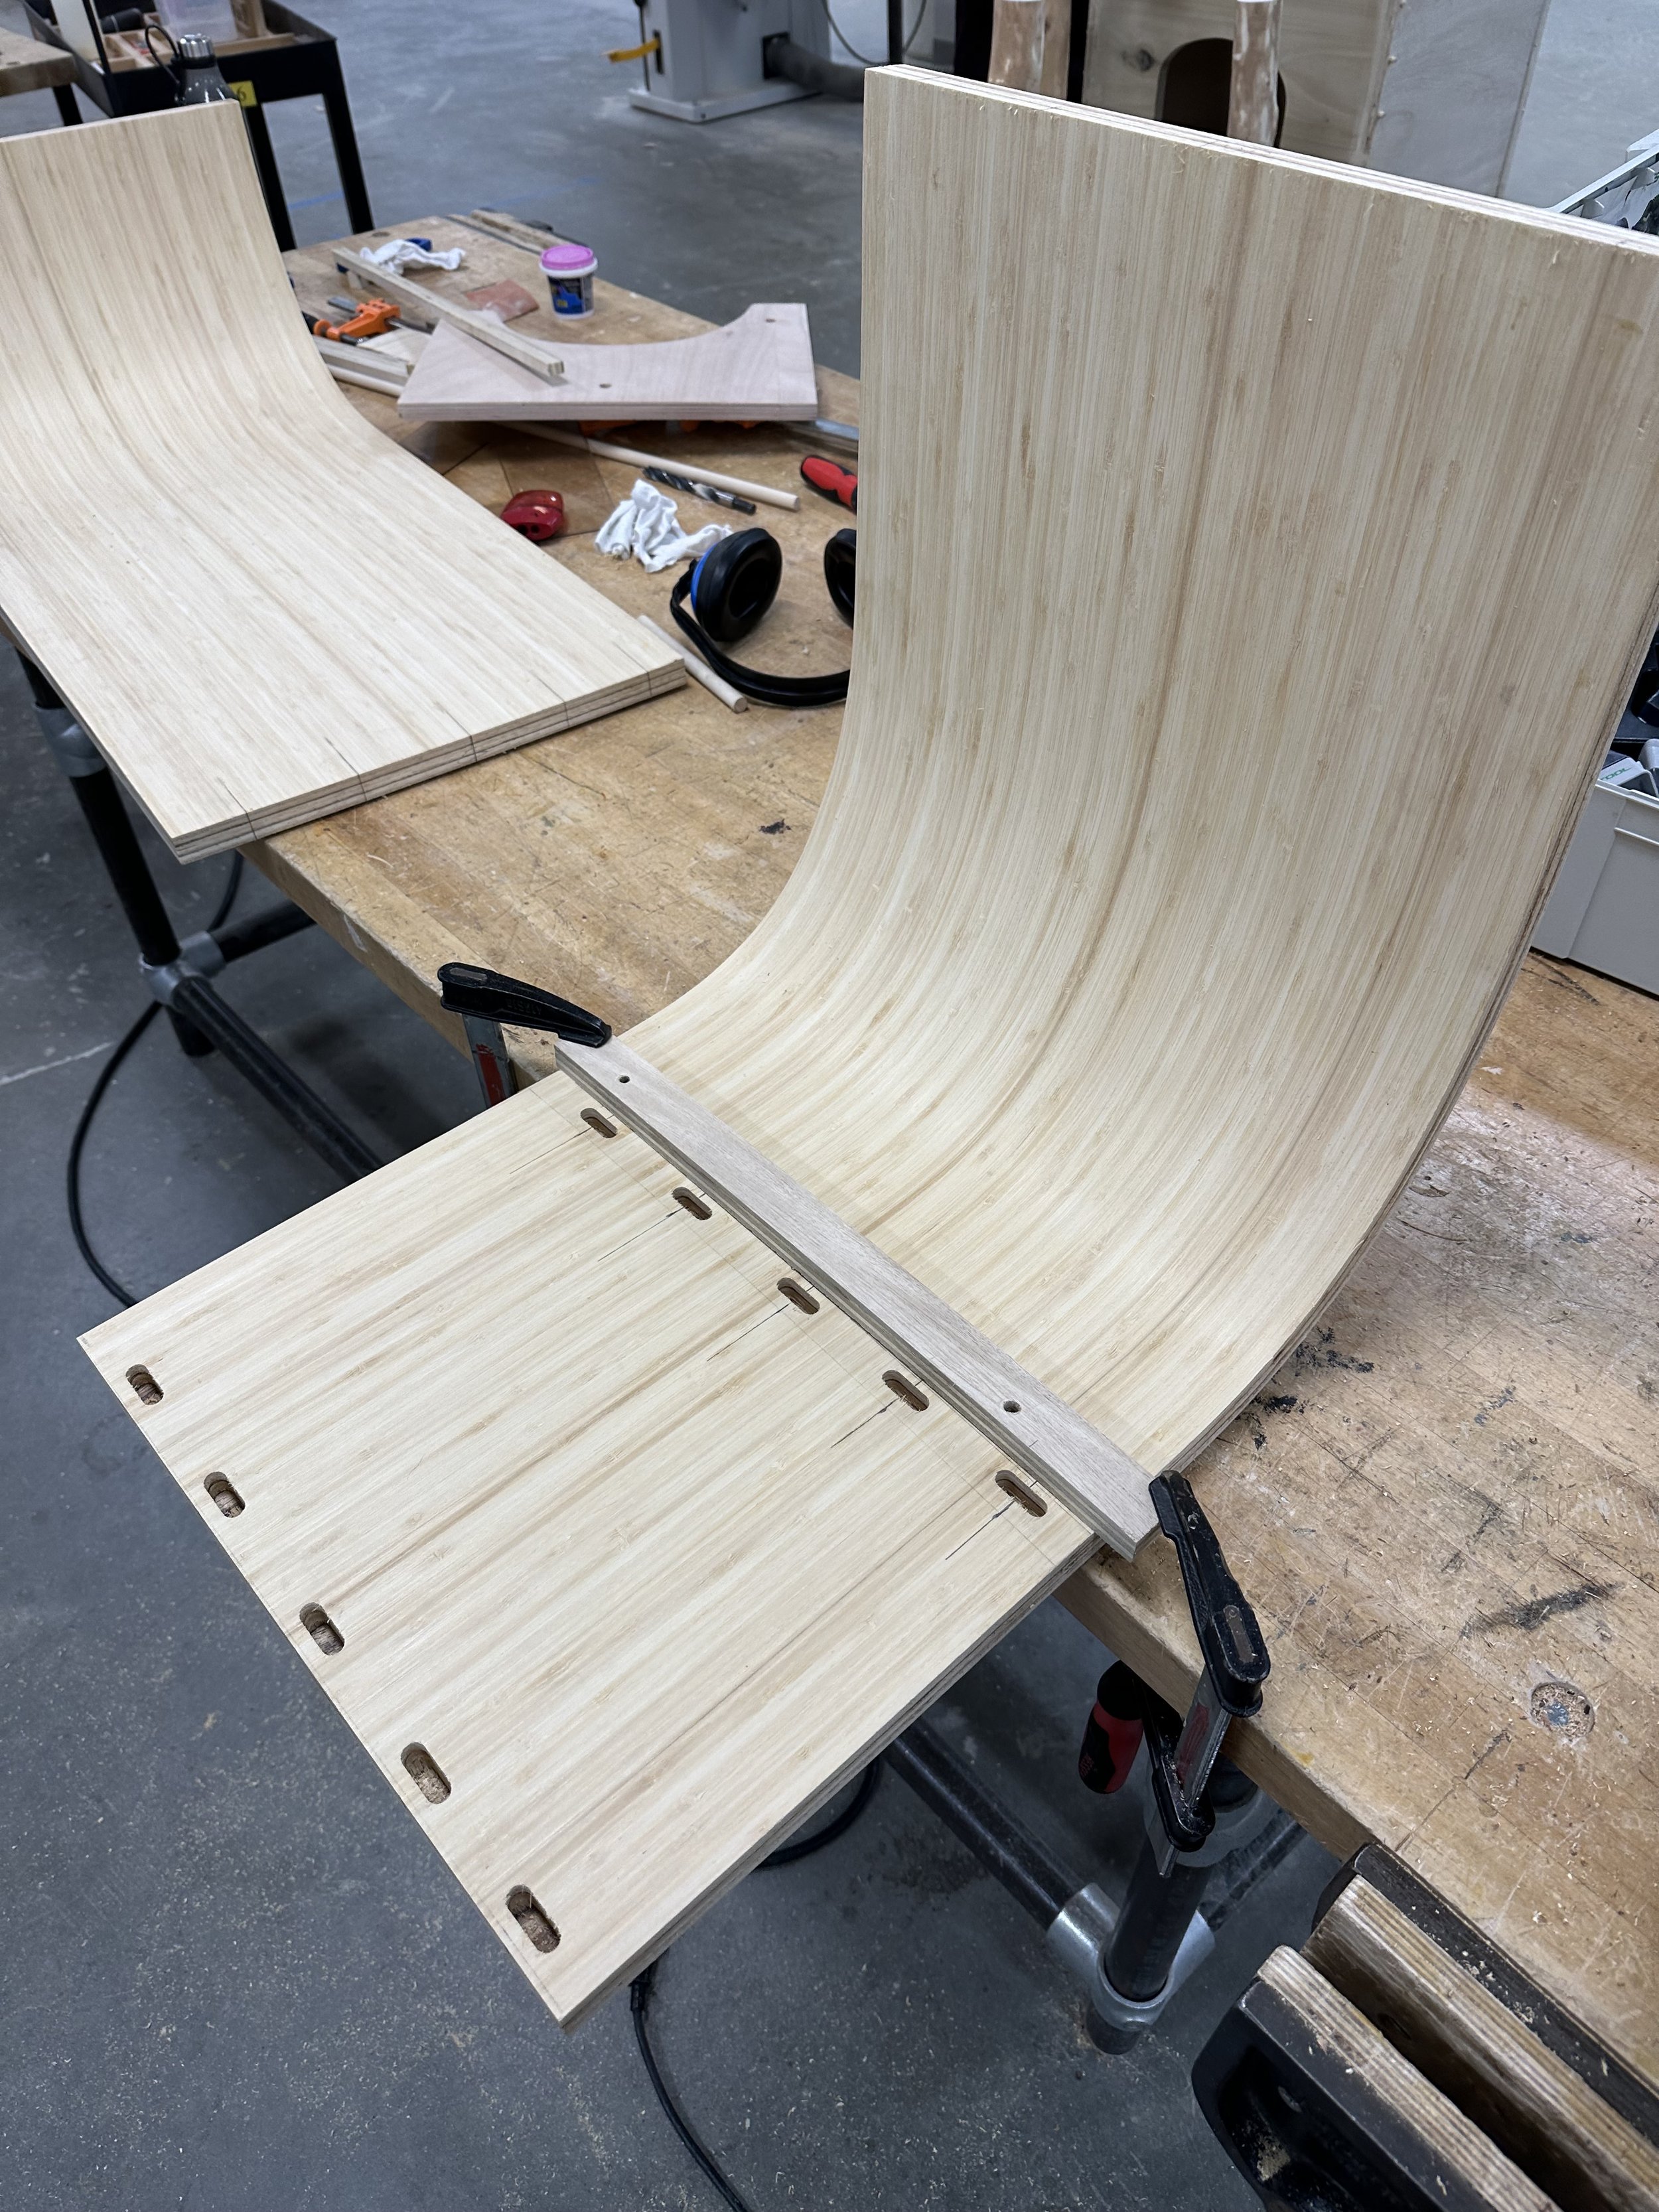
After taking my 2 molded pieces out of the vacuum sealer, I had to trim and sand all the edges to get a flat finish with 90 degree edges. When it came to jointing my 2 pieces together, I opted for a rabbet joint on the back edge of the top piece, in order to add a backing wall to my table which I applied with a routing machine. To attach the middle shelf and the floor shelf to the top shelf and backing wall, I opted for a mortise and tenon joint, which I measured out on each respective piece.
Step 3: Attaching joinery, painting and finishing
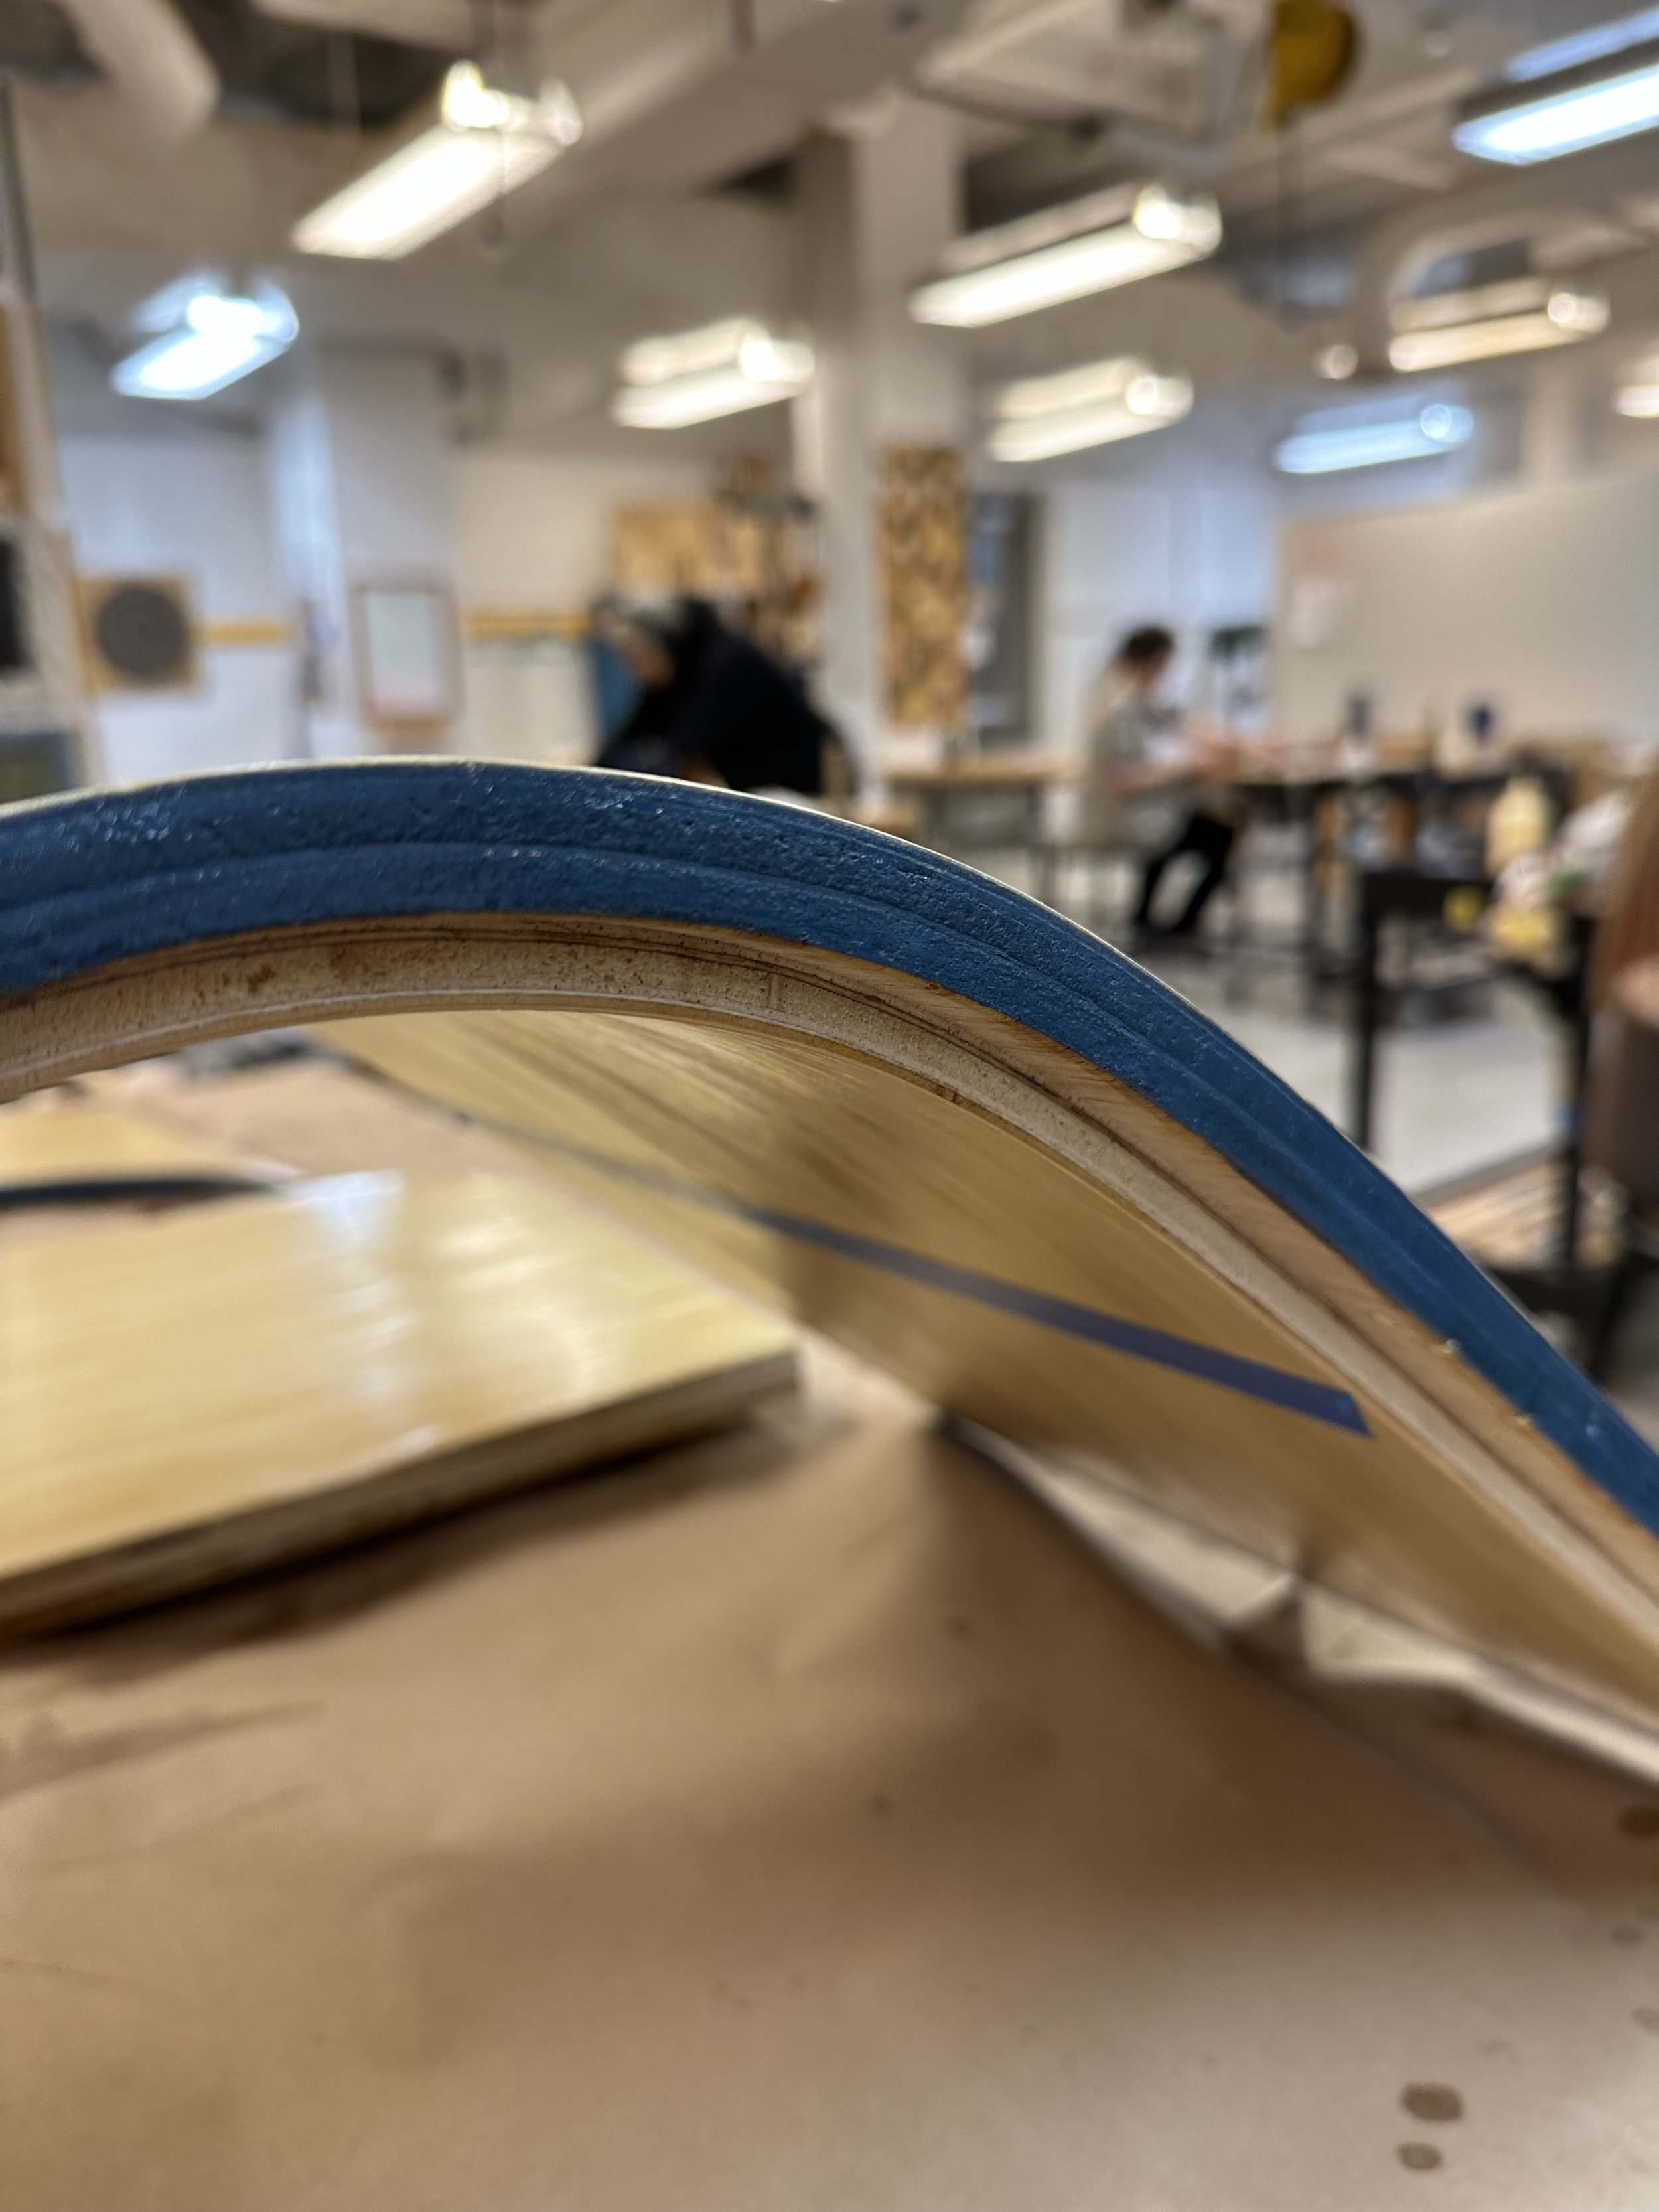
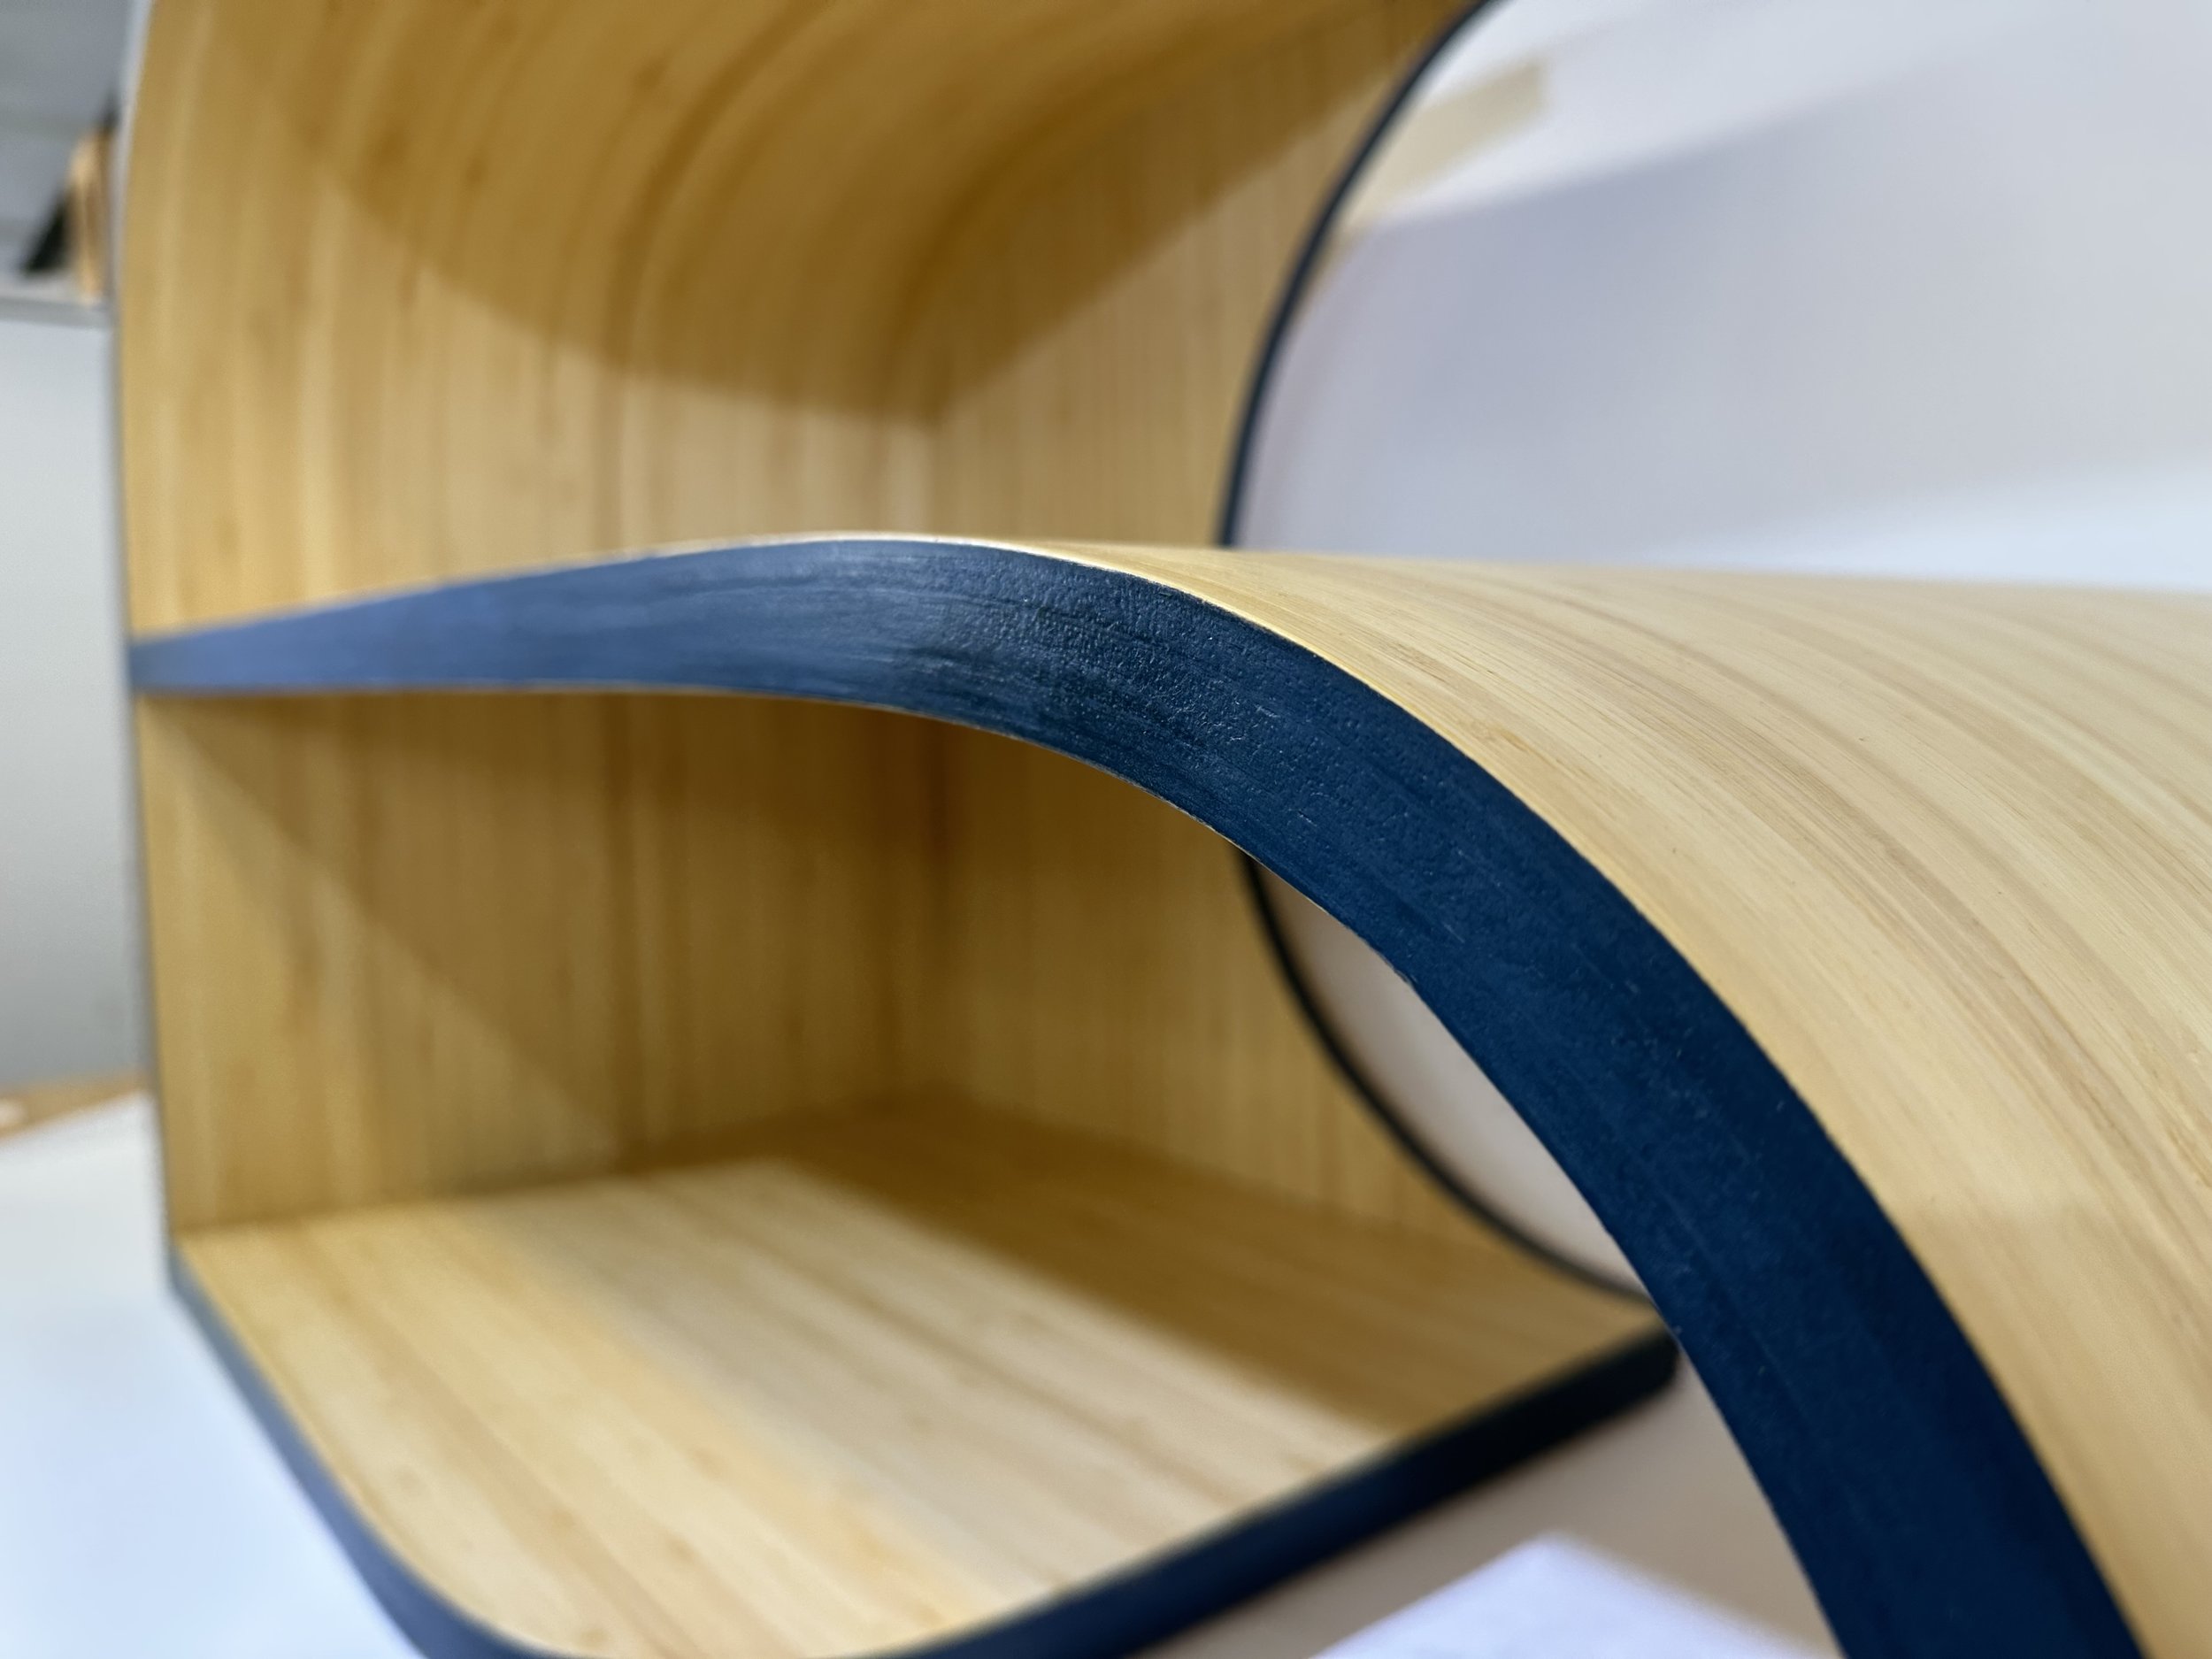
Once my joinery was put into place, I used wood glue to put my tenons into the mortises and let them dry. I then used blue milk paint on my exposed edges of plywood in order to replicate that same relationship and contrast between the blueness of the java bananas/blue bamboo and the dense and thick rainforest that surrounds it. I applied a thin layer of clear glossy finish on all the surfaces of my table to protect the wood of course, but to also show off the textures and various shades that the bamboo veneer has, adding further into the lush, subtropical theme I am trying to build.
Step 4: Final assembly and styling photos
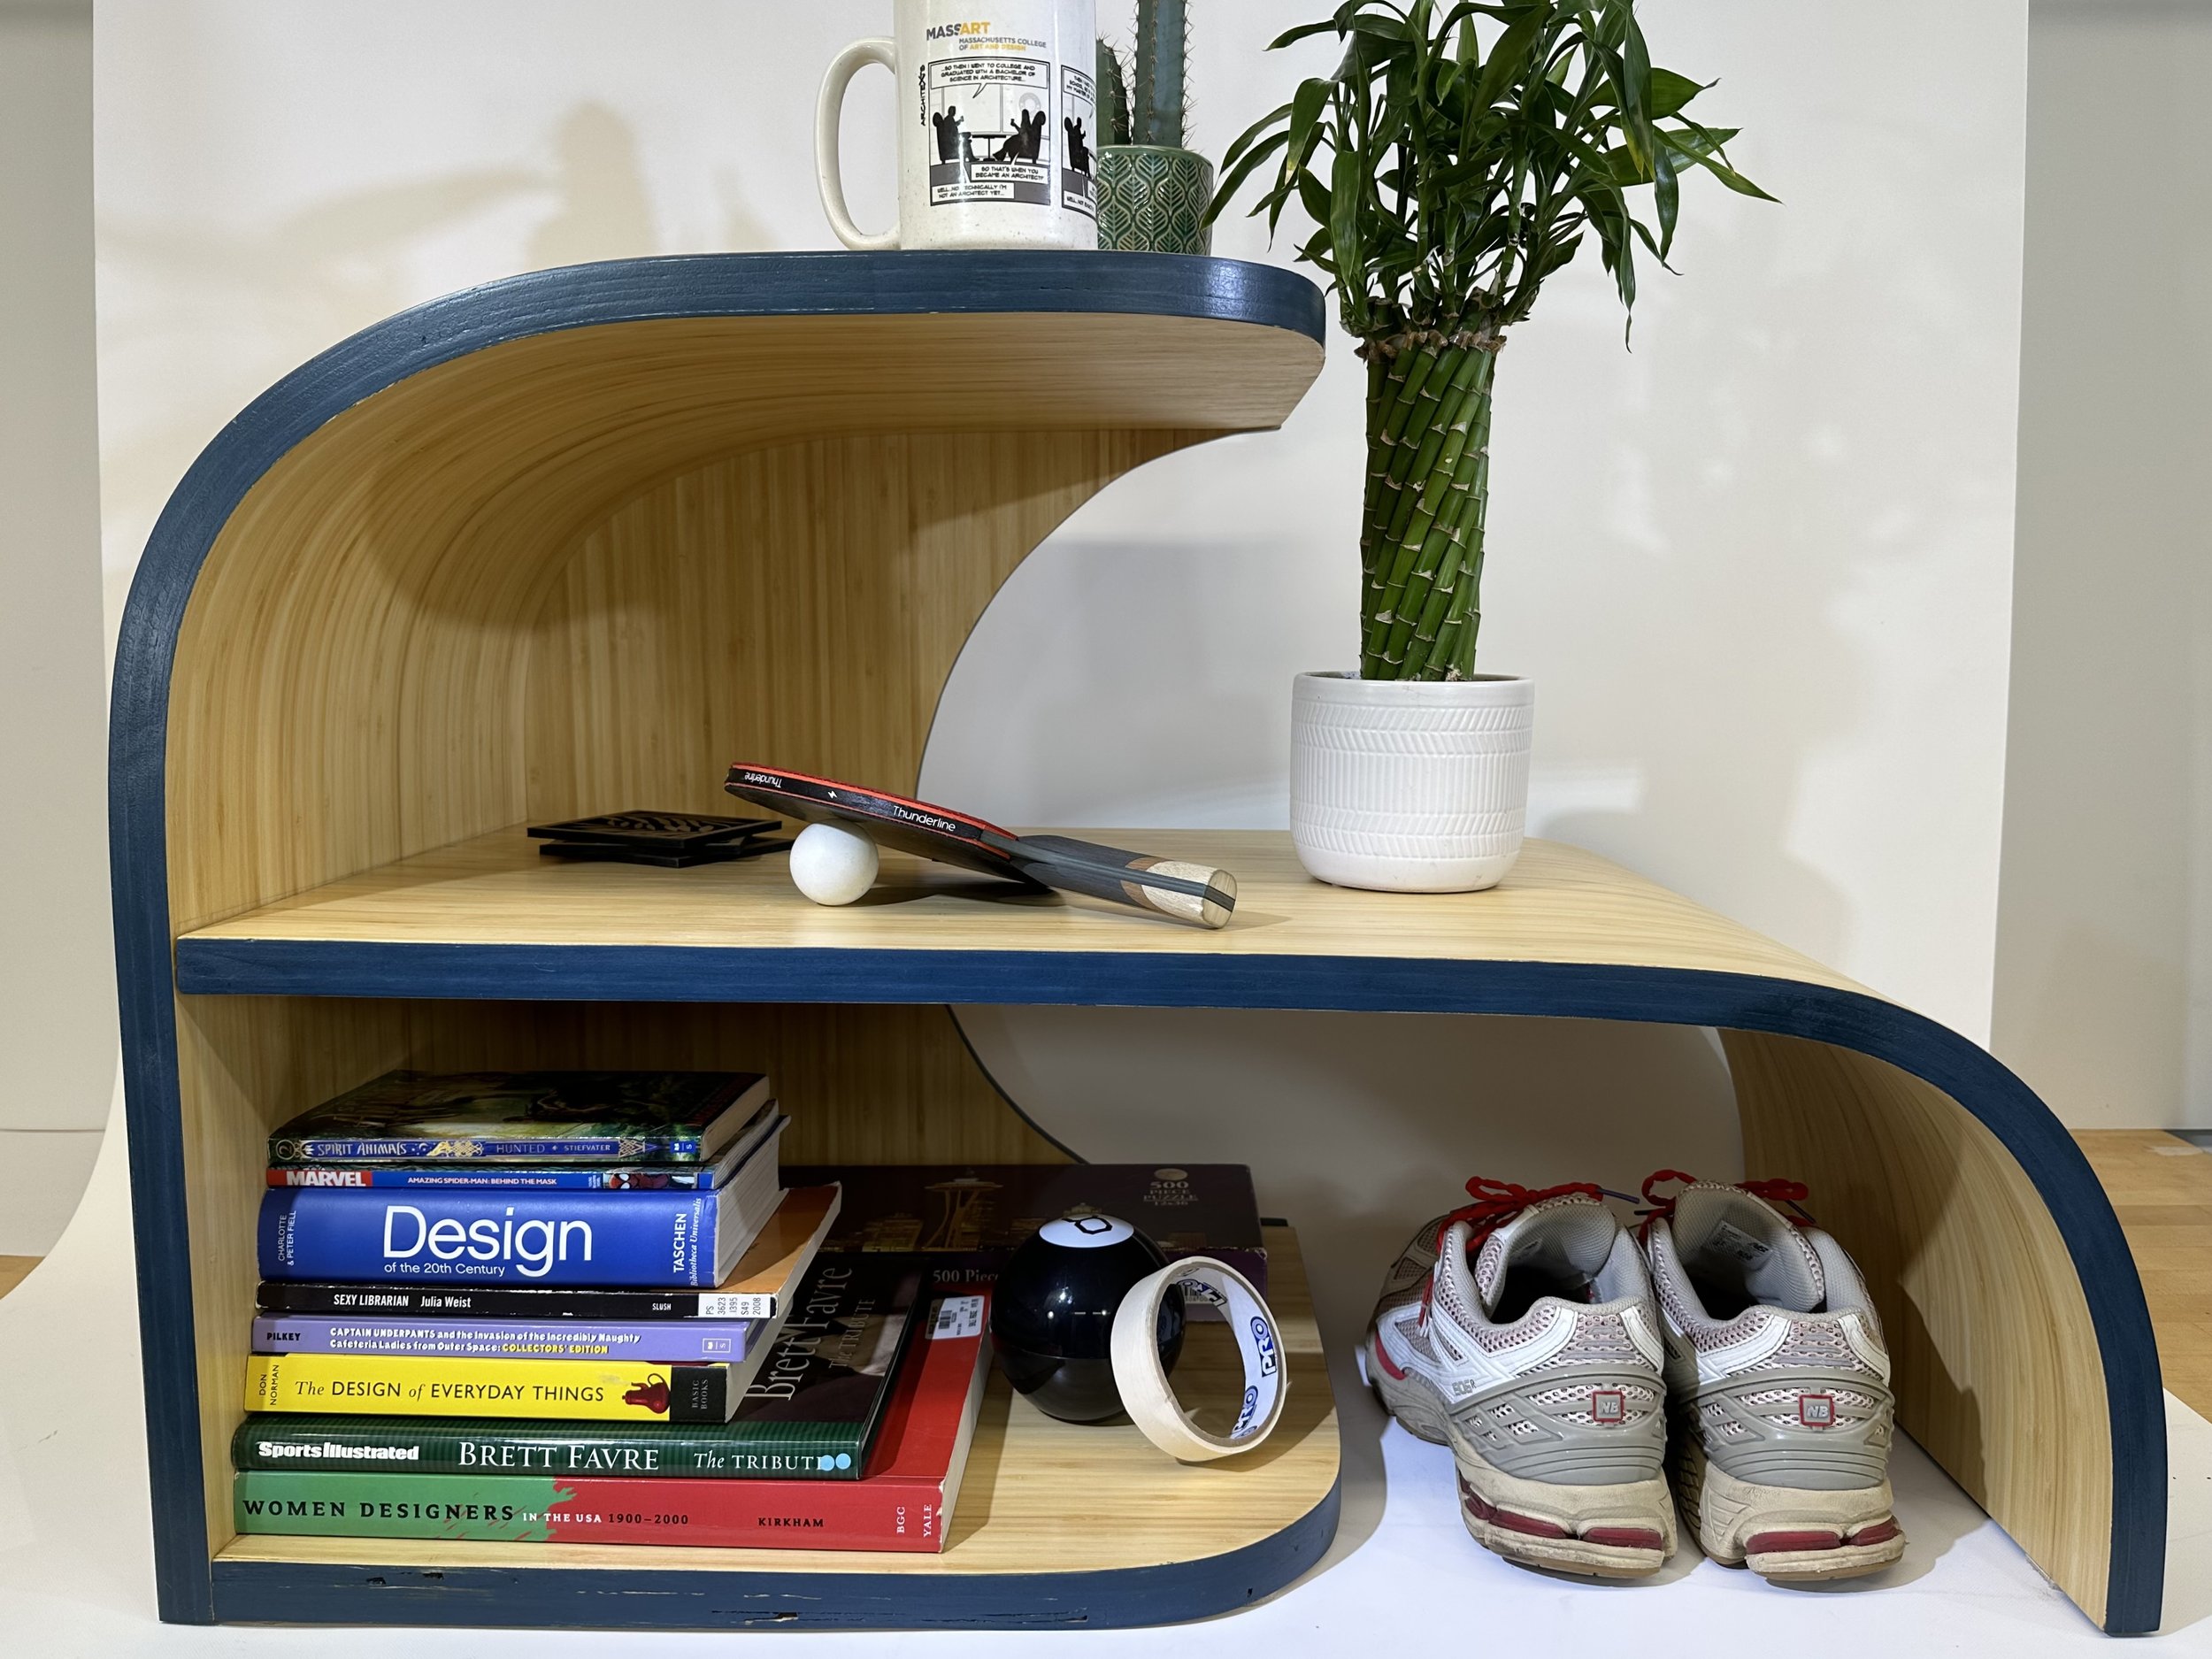
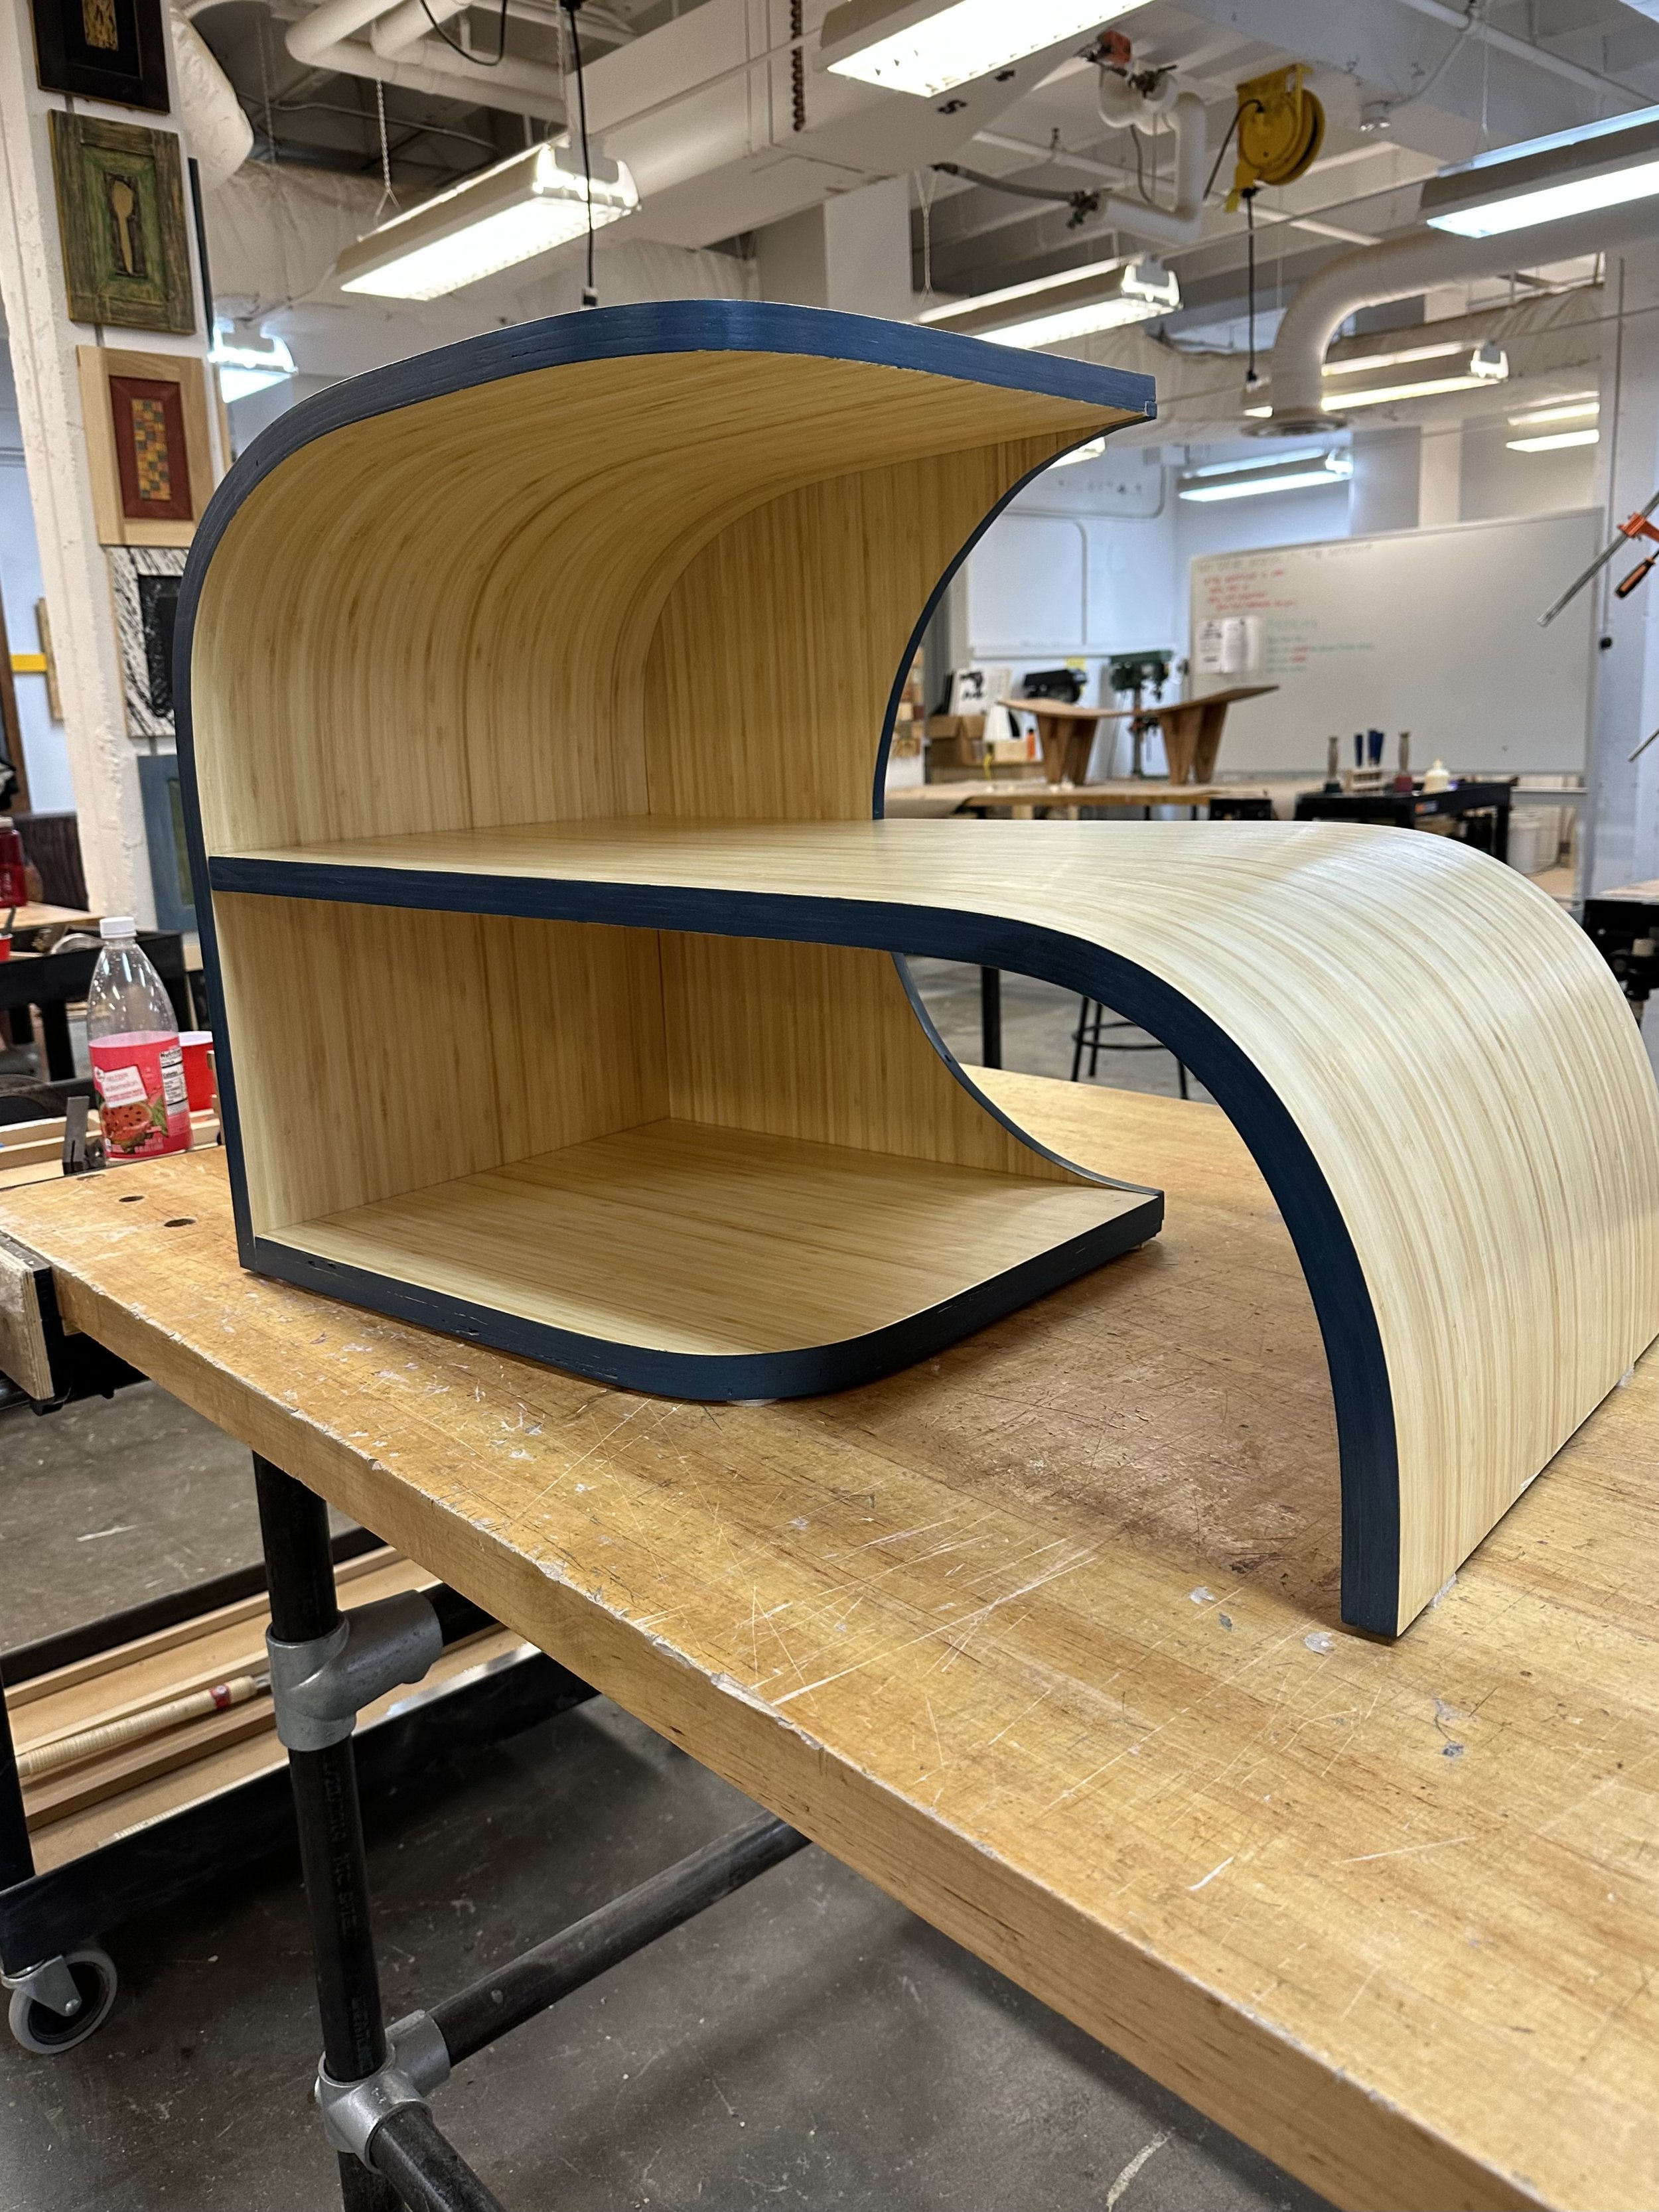
Once my finish had dried, I attached all my parts together and it was complete. My final design has 3 levels , with the top and bottom levels being the same length and the middle shelf extending past the others and curving onto the floor. This project came out exactly how I had initially pictured it and I believe it was a huge success and an incredible learning experience for me as a designer. I was able to see an idea through completely without skipping any steps, learning new techniques and using new methods and skills I previously hadn’t learned. This was my favorite project during my college experience and I am incredibly grateful for the help I received from my professors and the MassArt wood shop staff.


